Embroidering on placemats can be tricky. These 10 embroidery tips can be applied to any embroidery project that can not be hooped like normal. Use these embroidery tips when embroidering on readymade garments, cuffs, stocking hats, gloves, scarves, Christmas stockings, backpacks, and even dog collars!
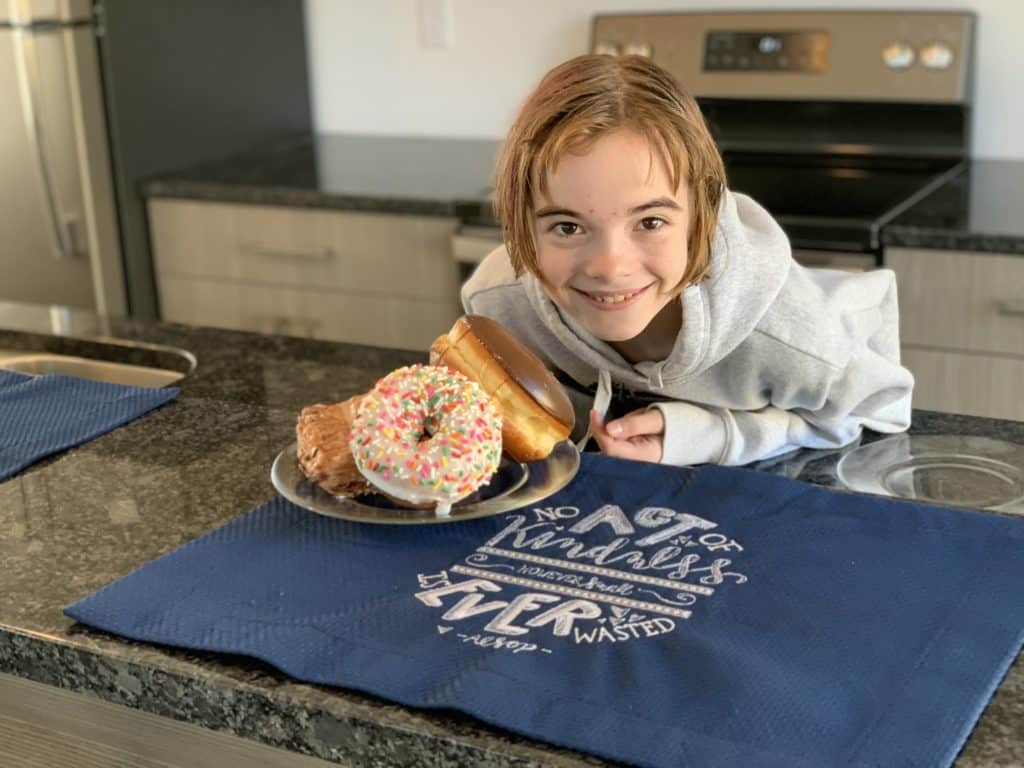
In this video, I explain all 10 embroidering tips and then stitch out the fourth and final placemat LIVE! Be sure to watch to the end of the video where my daughter makes a quick appearance as my photoshoot assistant.
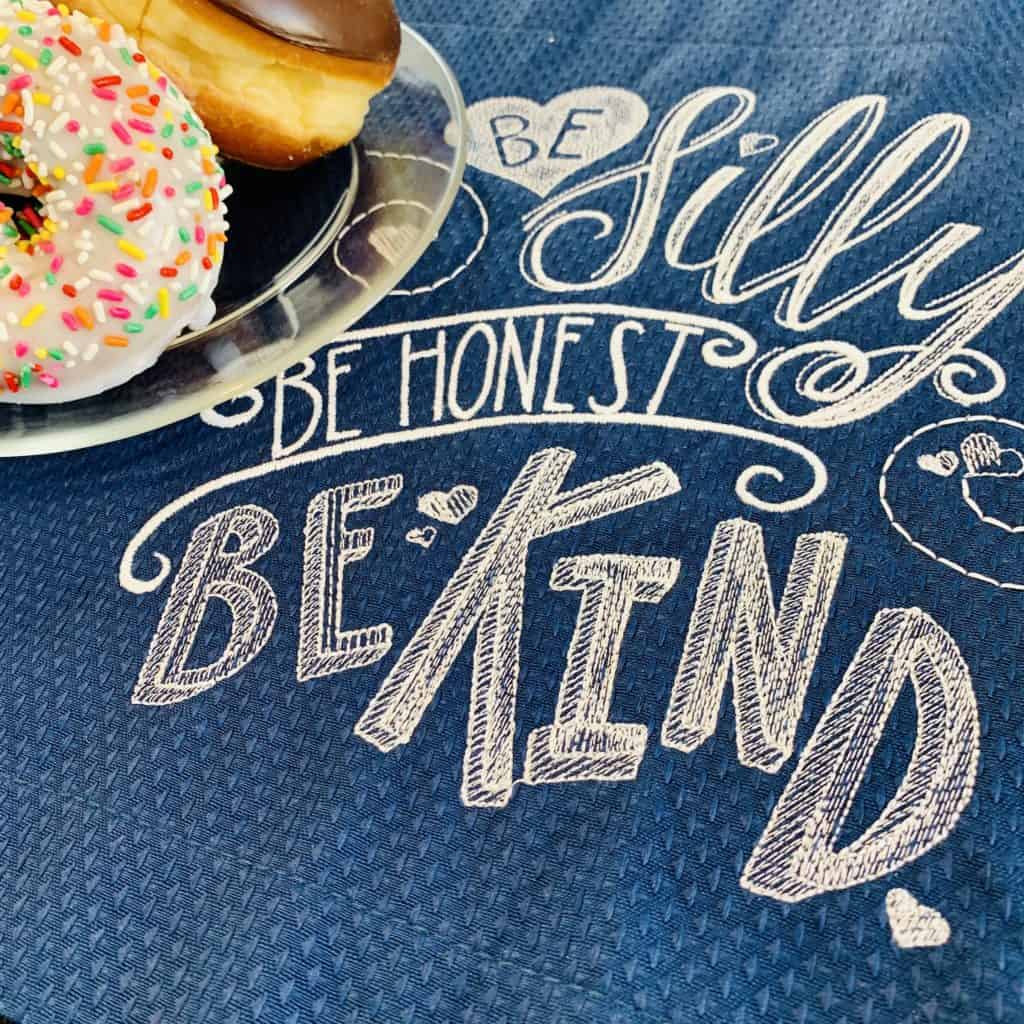
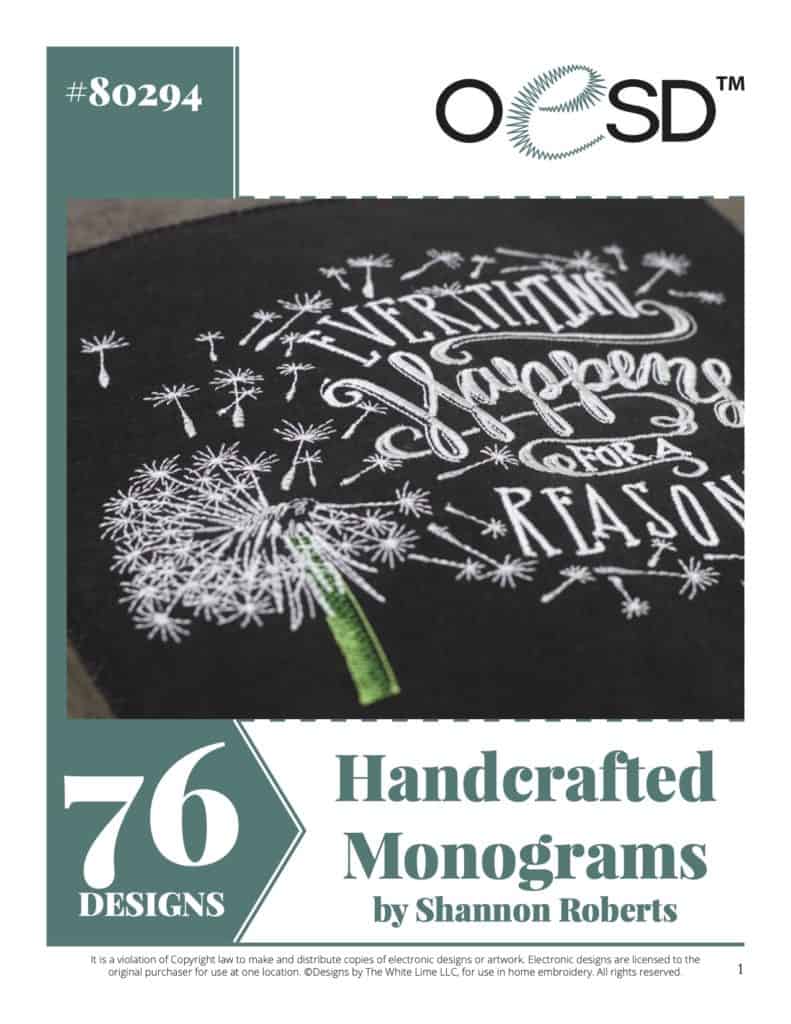
I was inspired by this OESD Handcrafted Monogram embroidery design collection when I realized these fun sayings were hidden at the end! You can purchase this full collection or just the sayings as individual designs.
These placemats were selected to go in a new tiny kitchen that needed just a touch of color and whimsy.

1. Sticky Water Soluble Stabilizer
I was looking for a stabilizer solution that will be easy to remove from the back of the placemats as well as be helpful during the embroidery process. Selecting a water dissolving stabilizer with an adhesive component was just the right ticket.
Note: Not all sticky stabilizers are created equal. If the needle gums up during embroidering, it can affect the quality of the stitch and can even break or shred the thread. Don’t blame the embroidery machine if this happens, it can be a not-so-great brand of sticky stabilizer. I am a big fan of OESD’s AquaMesh Plus stabilizer to avoid any sticky situations. If the needle does get gummy during embroidery, a little alcohol on a tissue or paper towel can help remove any build-up during the stitch out of the embroidery design.
2. Water Soluble Topper
Many non-hoopable items are often textured, thick, furry, or stretchy. Using a water-soluble topping will keep the stitches from being lost in the nap of the fabric. For fabrics that are unique in texture, it is a good idea to test out the designs ahead of time to learn how it will act while being stitched.
3. Basting in the Hoop Function
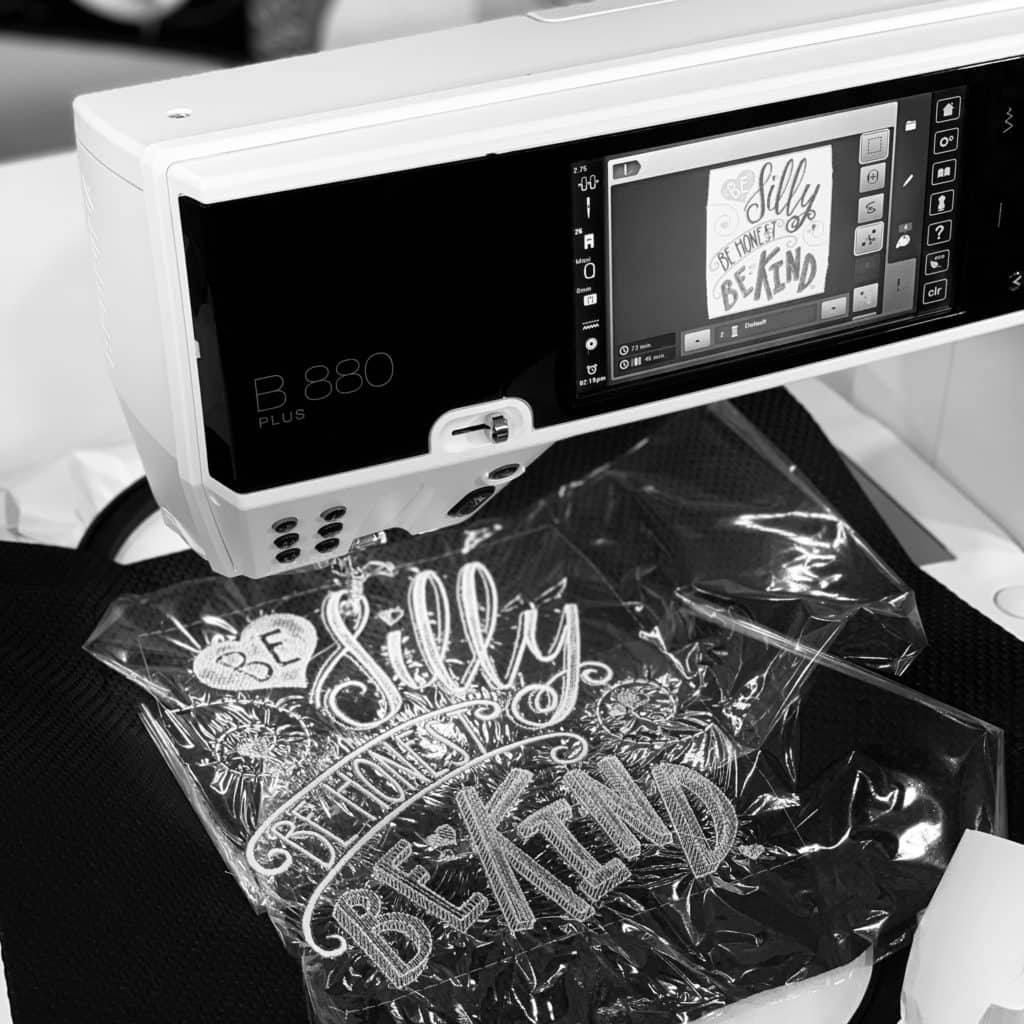
When embroidery items can not be hooped, utilize the basting in the hoop function found on many newer embroidery machines. This function will stitch a box the size of the design or around the perimeter of the hoop to hold the fabric in place. This is also a great function to use when floating water-soluble stabilizer on top of the fabric.
4. Embroidery Needles 90/14
Embroidery designs like these have a very high stitch count. Changing the needles often will prevent headaches and less than perfect stitching when there is no room or time for slip-ups. For these four placemats, I changed needles after the first two placemats were completed. Click here to stock up on embroidery needles.

5. Matching the Bobbin Thread
For these placemats, I choose to match the bobbin thread to the placemat color. For monochrome embroidery designs like these, matching the needle and bobbin color is also an option. Choose a bobbin thread color that will blend to the fabric backing when both sides of the finished project will be seen.
6. Buy an Extra Placemat
Save yourself a trip back to the store if you make a total goof up. Plan to purchase an extra one or two of the items you are embroidering just in case something goes totally wrong. This usually buys you the insurance that you will not need them…it just works out that way.
7. Test Thread Colors
Avoid unnecessary surprises by testing the thread color choices on a sample fabric of a similar color. This way any thread colors that do not pop can be replaced with better-selected colors. For those of you with embroidery software, select a background color in the software similar to the project color to audition thread choices.
8. Straight Stitch Throat Plate
I am always a fan of using a straight stitch throat plate, especially when working on thicker fabrics. This will keep the needle from deflection during embroidery providing a higher quality of stitch out.
9. Selecting the Right Sized Hoop
Embroidery machines these days recommend the proper size of hoop for the selected design. Using the hoop closest to the design size saves stabilizer and provides better-looking results.
10. Removing stabilizer
Removing a water-soluble stabilizer requires a short, warm water bath to effectively remove the stabilizer from the fabric. Let the item air dry on a towel to finish drying.
Why I LOVE OESD Embroidery Designs
One reason I LOVE embroidery designs from OESD is how continuous their embroidery designs are digitized. Their digitizers are training to create embroidery designs with the least amount of starts and stops to help keep embroidery machines humming continuously. If you don’t know what I am talking about, try out one of their free designs and see!
Now what to make with all the beautiful monograms and frames that came with this OESD Handcrafted Monogram collection. Click here to see the entire collection and sewing information.
Check out our Embroidery Essentials online course
Want to master your embroidery machine? Click here to learn more:

