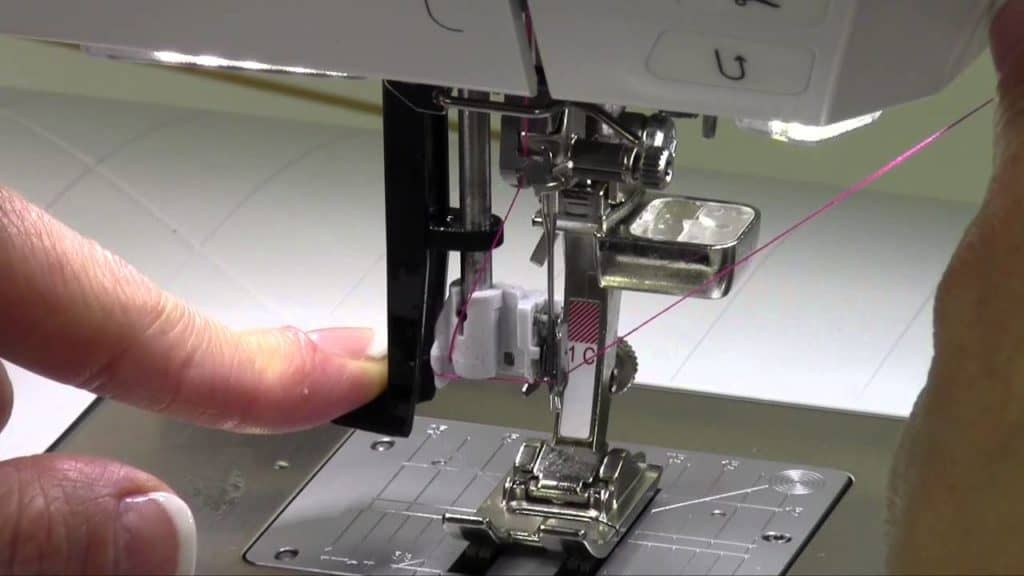
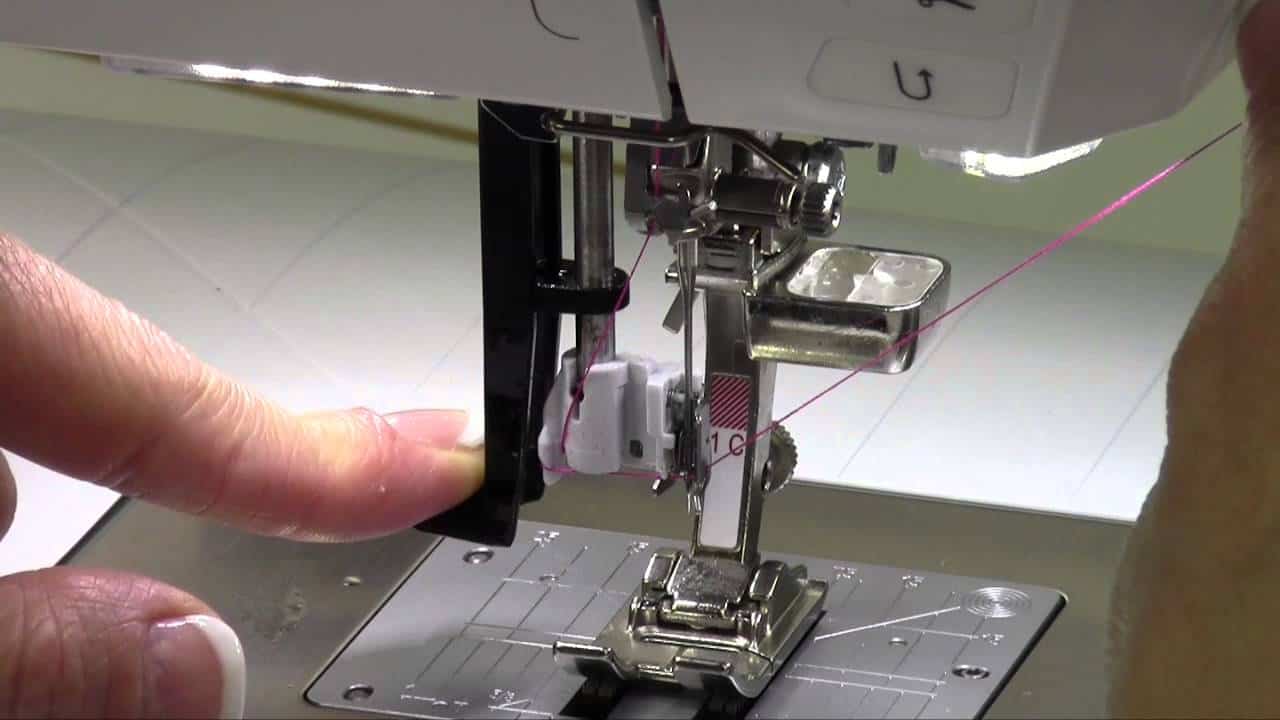
People have a love-hate relationship with built-in sewing machine needle threaders. We love them when they work and we hate them when they don’t.
Sewing machine needle threaders need a smooth, gentle rhythm to work well. Meaning if you rush the process, push too hard, or shove the thread in too soon, it probably will not work.
Needle threaders are very small and delicate. So any unintentional bending can throw the entire mechanism out of alignment.
Here are a few tips to follow when learning how to use a needle threader:
A NOTE BEFORE STARTING…
If a needle threader has been bent, it will never work. It will need to be realigned or replaced before you can practice using it correctly.
CYCLE THE NEEDLE UP AND DOWN ONE TIME
Make sure the needle is in the highest position before using the needle threader. For computerized sewing machines this is as simple as touching the needle up / needle down button two times. Let the machine bring the needle into its highest position. For mechanical machines, this means turning the hand wheel until the needle is near the top of its cycle.
THE ORDER MATTERS
The small metal hook on a needle threader must completely travel through the eye of the needle BEFORE the thread is guided into the needle threader. If the thread is inserted into the needle threader before the hook gets through the eye, the thread often is not caught. The correct order of operation is key to needle threading success.
LET IT GO…
A common problem we see with new users is not letting the thread pull out of the hand holding the thread end. By holding the thread too tight, there is no way for the needle threader to pull the thread through the needle eye. Think of using a light touch. A little resistance helps, but holding on to the thread for dear life does not work.
LOWER THE PRESSER FOOT
Lowering the presser foot helps in two ways. First, it will give your fingers a little more room to operate the needle threader. And second, the lowering of the presser foot will engage the top tension keeping the thread from pulling through the machine too easily. The extra resistance the tension gives will help steady the thread as it is guided into the needle threader.
LIFT THE THREAD UP (NOT BACK)
Instead of pushing the thread toward the back of the machine, gently lift the thread up. The up angle will help the hook of the needle threader catch the thread before pulling it through the eye of the needle.

CHECK THE NEEDLE HEIGHT
If you have recently replaced a needle, a needle threader can help determine that the needle was raised high enough into the shaft. If the needle threader head does not align with the needle eye, loosen the needle screw and lift the needle higher.
PLAN B
Having a hand-held needle threader as a backup is a great idea. Use it on sewing machines without a built-in needle threader, or a serger, or when your onboard needle threader acts up. Once you have become dependent on a needle threader it is hard to go back to threading the needle the old fashion way.
This is a hand-held sewing machine needle threader and below is a video of how it works.
HOW TO CORRECTLY USE A HAND-HELD NEEDLE THREADER
This video demonstrates how to properly use a hand-held needle threader.
WHAT IF IT STILL DOESN’T WORK?
If after trying all these needle threader tips you are still unsuccessful, you will need to consult a professional. A sewing machine service person will be able to realign the mechanism or replace it with a new needle threader. No matter. It still beats threading the needle by hand!
BUT WAIT…
There’s more! Check out the newest designer needle threaders showing up on top-of-the-line sewing machines like the Husqvarna Viking Designer EPIC and the PFAFF creative ICON. These bad boys take all the guesswork out of threading the needle.
PS: This needle threader cost between $10,000 – $12,000 but comes with a FREE sewing and embroidery machine!
The needle threader problem is solved.

