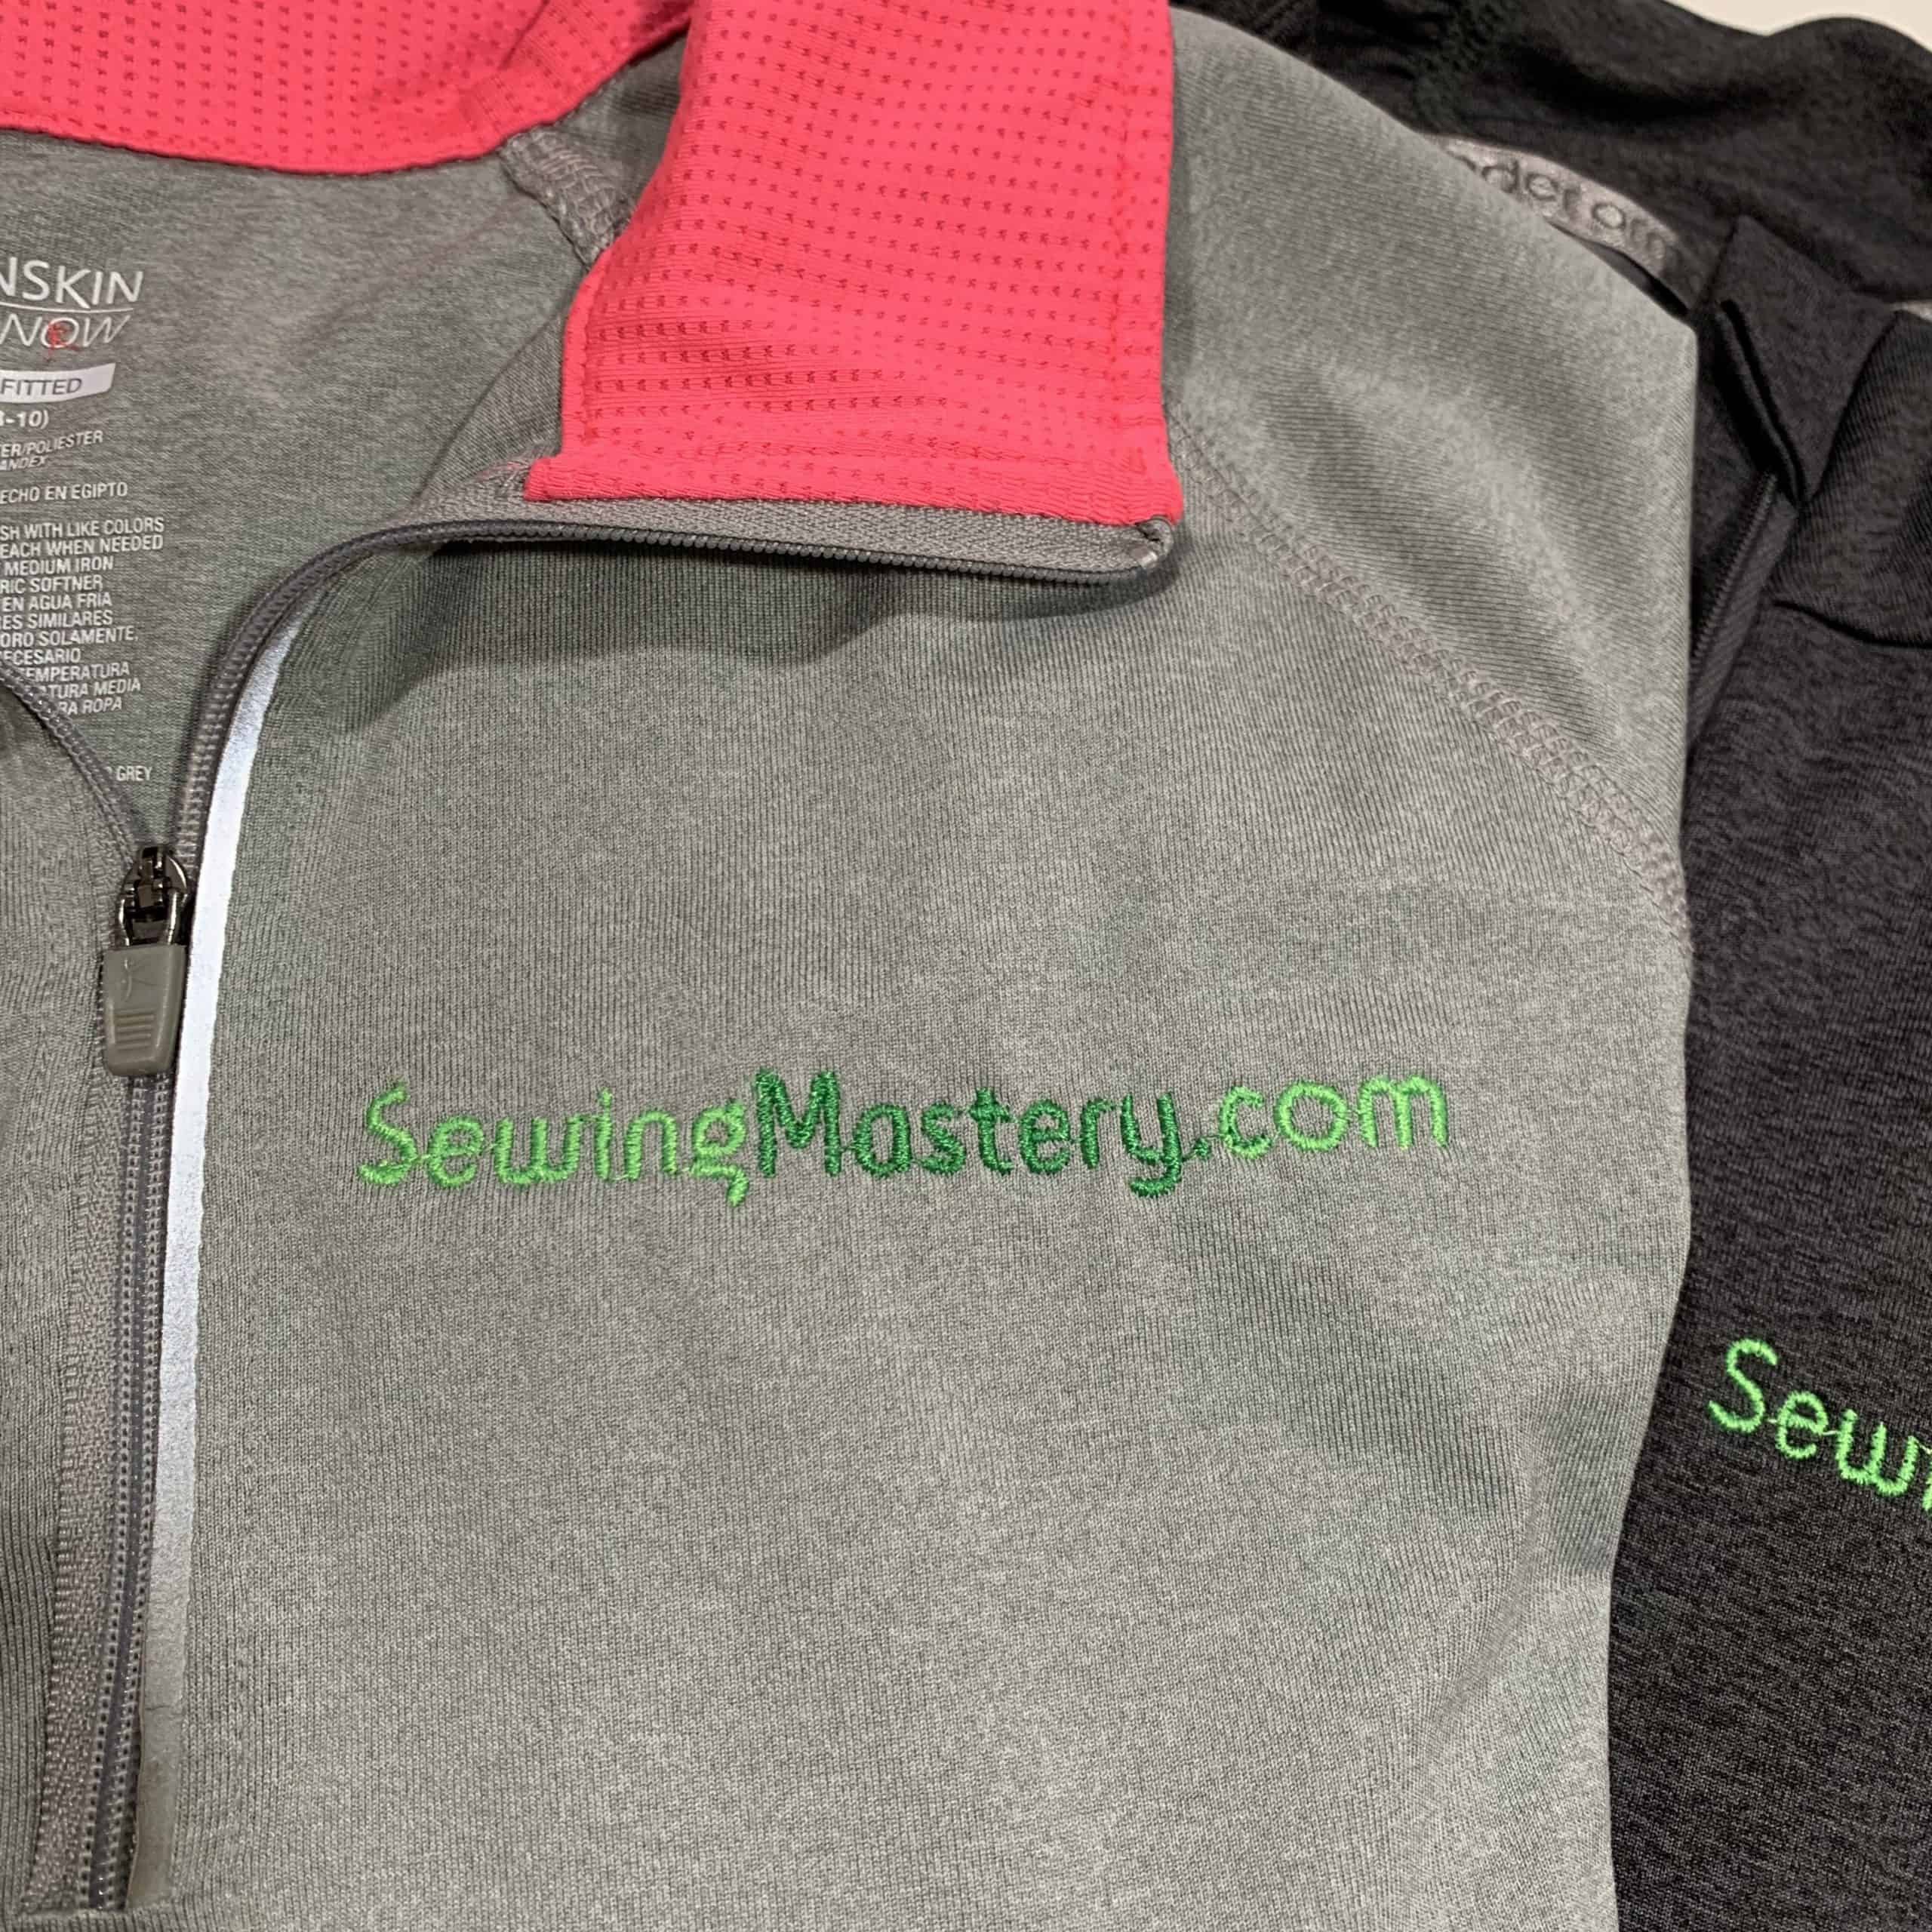
Recently I took an afternoon to embroider a few new SewingMastery.com shirts for myself. Students always ask if it is hard to embroider logos on athletic wear. No, it is not hard, but do follow some of these helpful tips for guaranteed success.
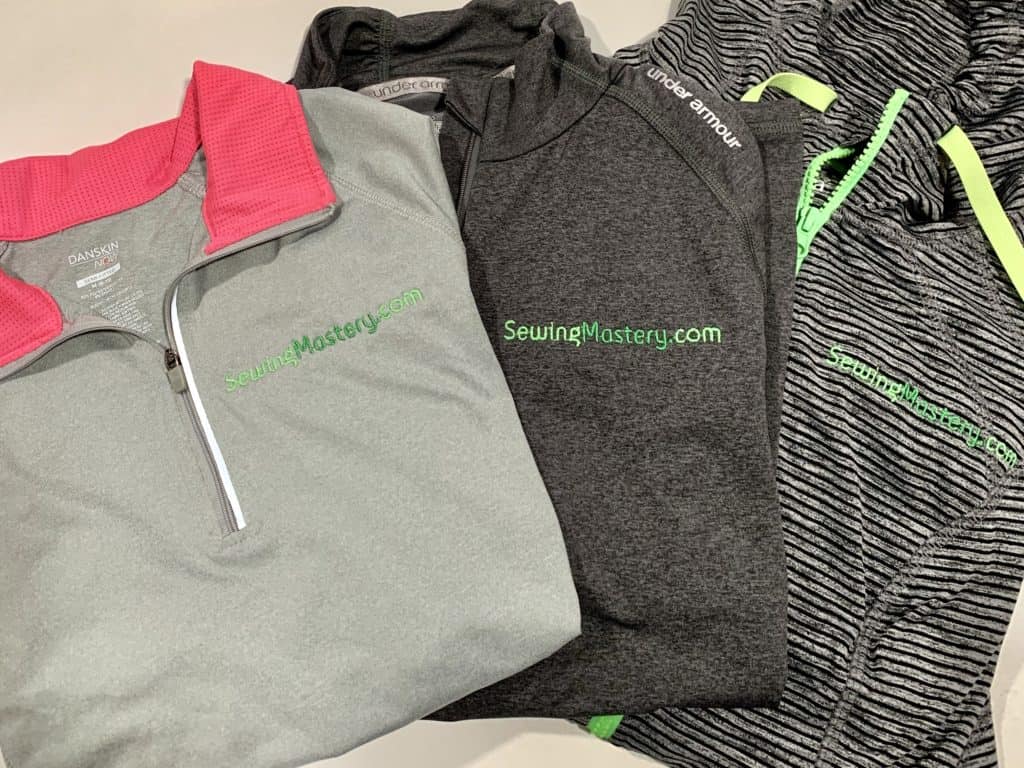
The first trick, test the logo out on an older shirt. Something like a well-worn shirt or shirt from a second-hand store is a great place to practice. These three shirts were all top-quality shirts like the UnderArmor brand from a lady’s second-hand store. If I messed up, I was only out $12 not, $60.
Digitizing a Logo
The SewingMastery.com logo is actually just a special font. Using Husqvarna/Pfaff’s free font software, Quick Font, I created my own letters. Other software brands that work with True Type fonts can do the same process. If a logo is more complex, extra digitizing software may be purchased or you can have a logo professionally digitized. Check with your local sewing machine retailer to audition and purchase a wide variety of software options.
What is Quick Font Software?
Here is a quick idea of how the Quick Font software works. Note: This is an older video with a slightly older Quick Font version, but the concept of creating the fonts is still the same.
Stretch Needles
I’m a super fan of Stretch needles for athletic wear. With all the lycra, both sewing machines and embroidery machines can sometimes skip stitches from stitching through the rubbery material that makes up these stretch fabrics. Stretch needles have a coating on them that prevents skipped stitches.
No Show Mesh Cut-Away Stabilizer & 505 Spray
If choosing to not hoop the garment, start by hooping two layers of no-show mesh cutaway stabilizer. Next, spray the center of the hoop with 505 spray. This will create a light sticky foundation to adhere the fabric into position.
Marking the Center of the Design
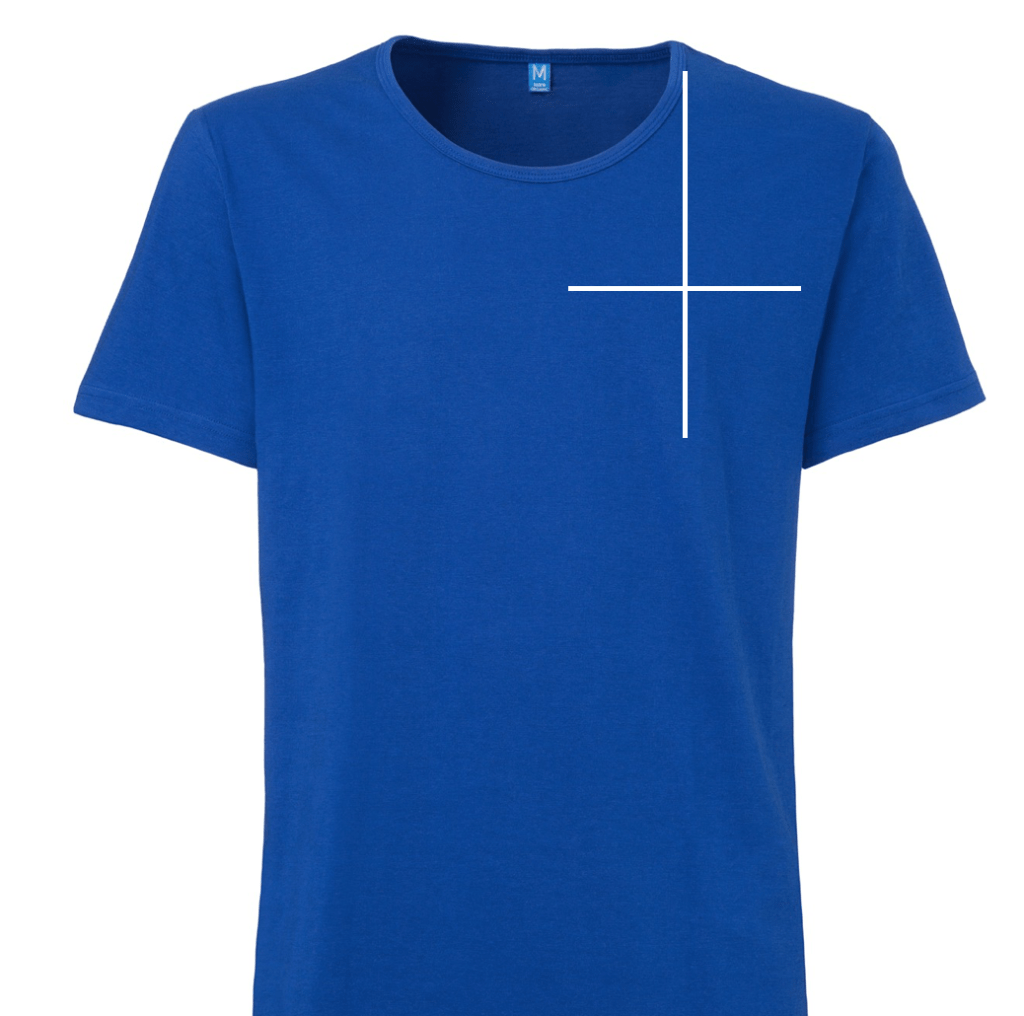
Using a fabric marker that is guaranteed to come out, mark the center of where the design is to stitch. Draw the vertical line straight down from the shoulder seam. Draw the horizontal line centered on the sleeve. If a pocket is on the shirt, embroider the design 1/4″ above the pocket.
Water Soluble Stabilizer on Top
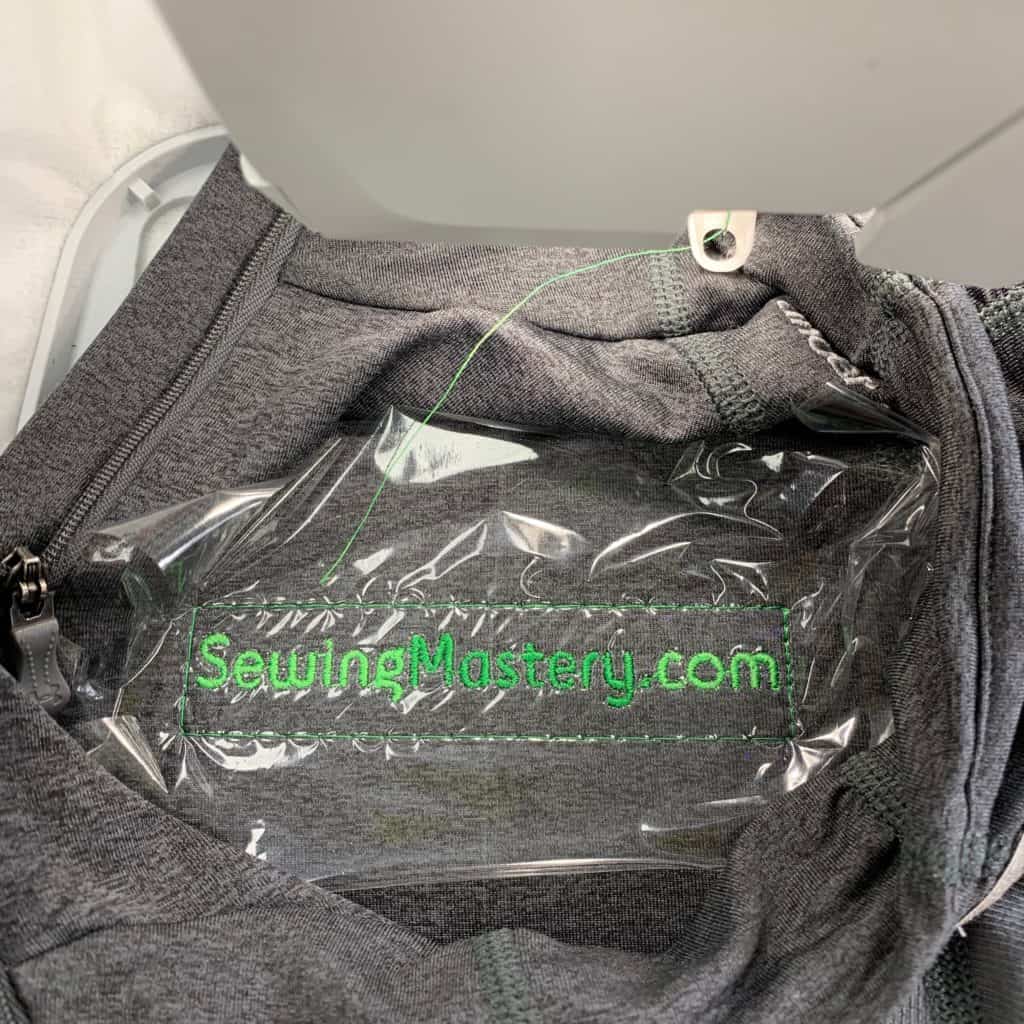
Even though athletic wear is usually not a napped fabric, use a layer of thin water-soluble stabilizer to give the stitches something to hang on to while stitching. This logo has very narrow satin stitching. To keep the stitches from sinking into the fabric, the water-soluble stabilizer adds a little lift to the finished stitch out.
Pro Tip
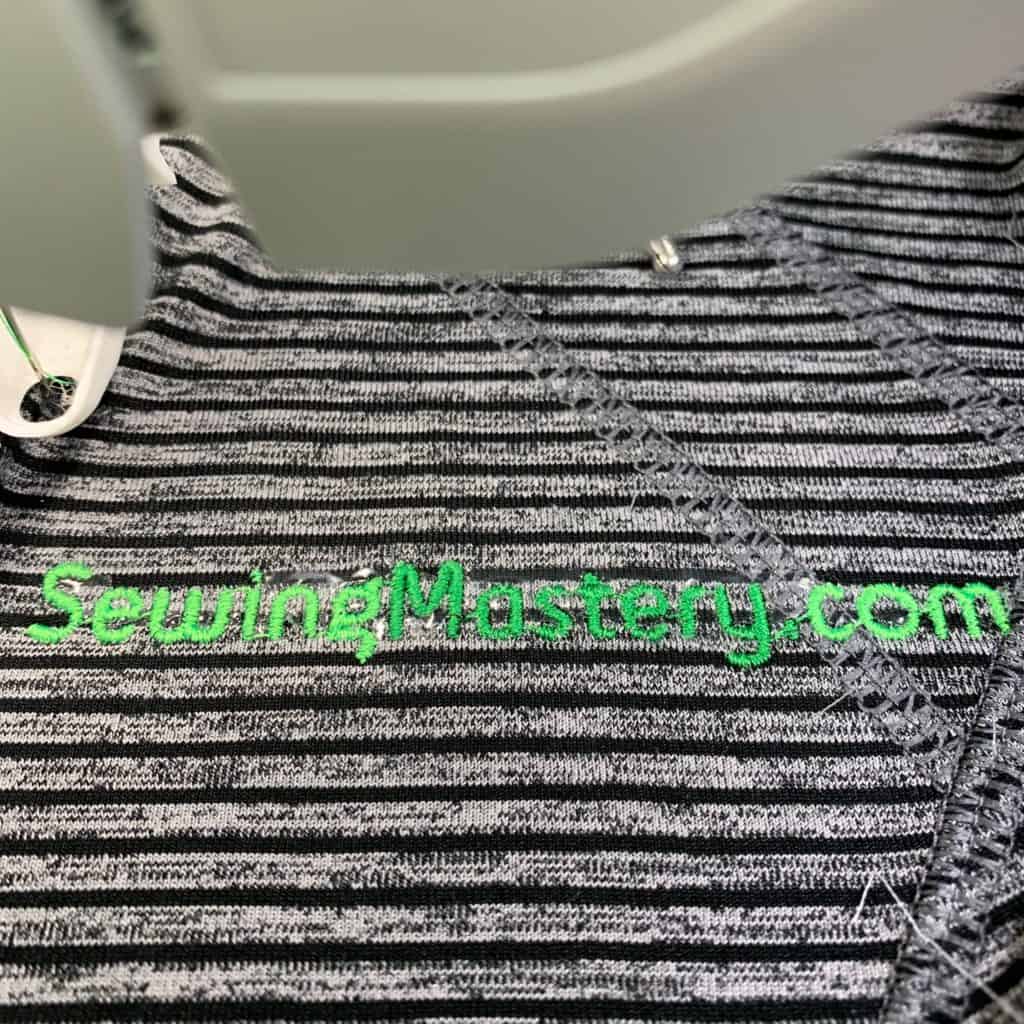
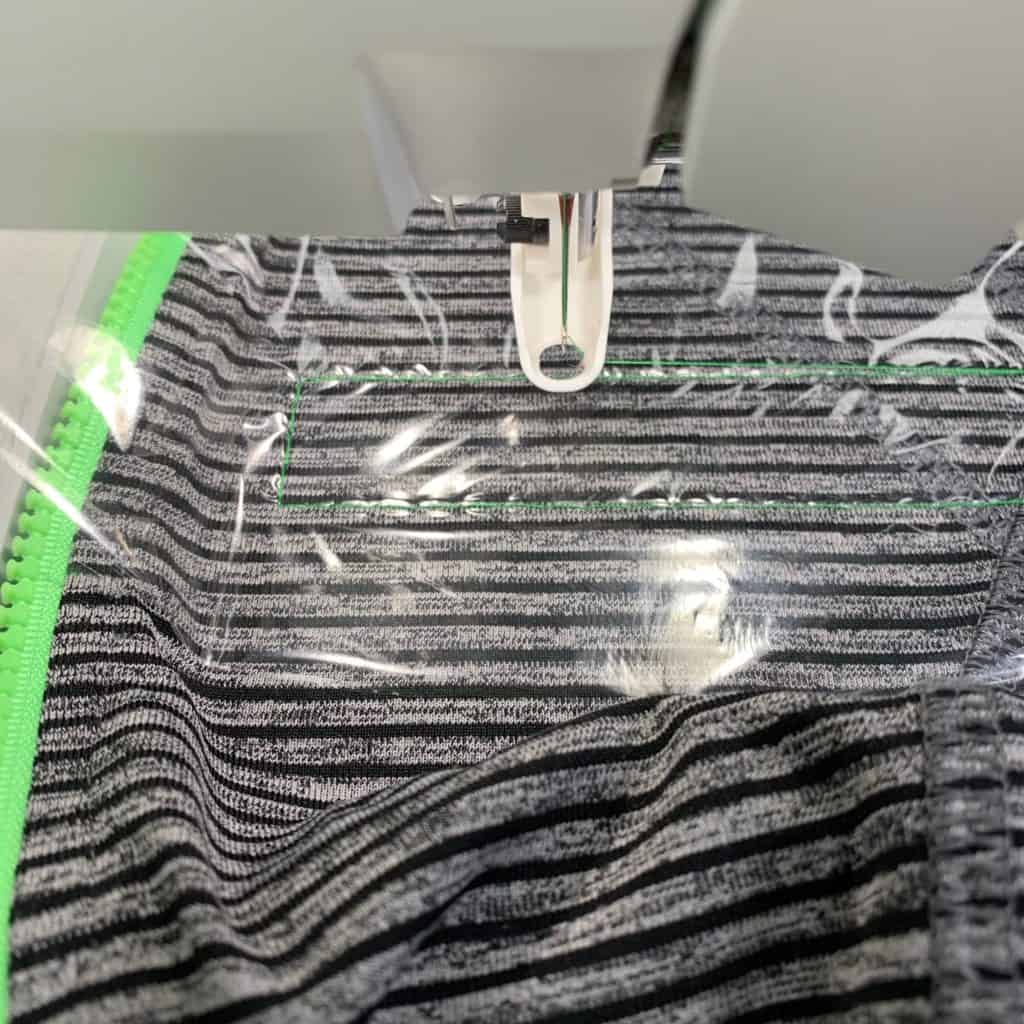
Don’t start with a striped fabric for your first project. A striped item requires perfection. If a logo is not perfectly aligned with striped fabric it is very noticeable.
Basting in the Hoop
Many embroidery machines have a “Basting in the Hoop” feature. This does two things, first, it attaches the shirt to the stabilizer. Second, it can help you visualize if the fabric is centered and straight. No one wants to see a logo not level – especially on a striped fabric. Should an item not be perfectly placed, basting stitches are easy to remove before starting the aligning process over.
Removing the Stabilizer
Start by removing the basting stitches. Next, cut away the stabilizer to approximately 1/4″ from the edge of the embroidery. Carefully tear away the perforated water-soluble stabilizer from the front.
Final Step
Wash the item to remove any remaining water-soluble stabilizer and the drawn alignment lines.
What are your favorite tips for embroidering on athletic wear? Post your tips in the comments below.

