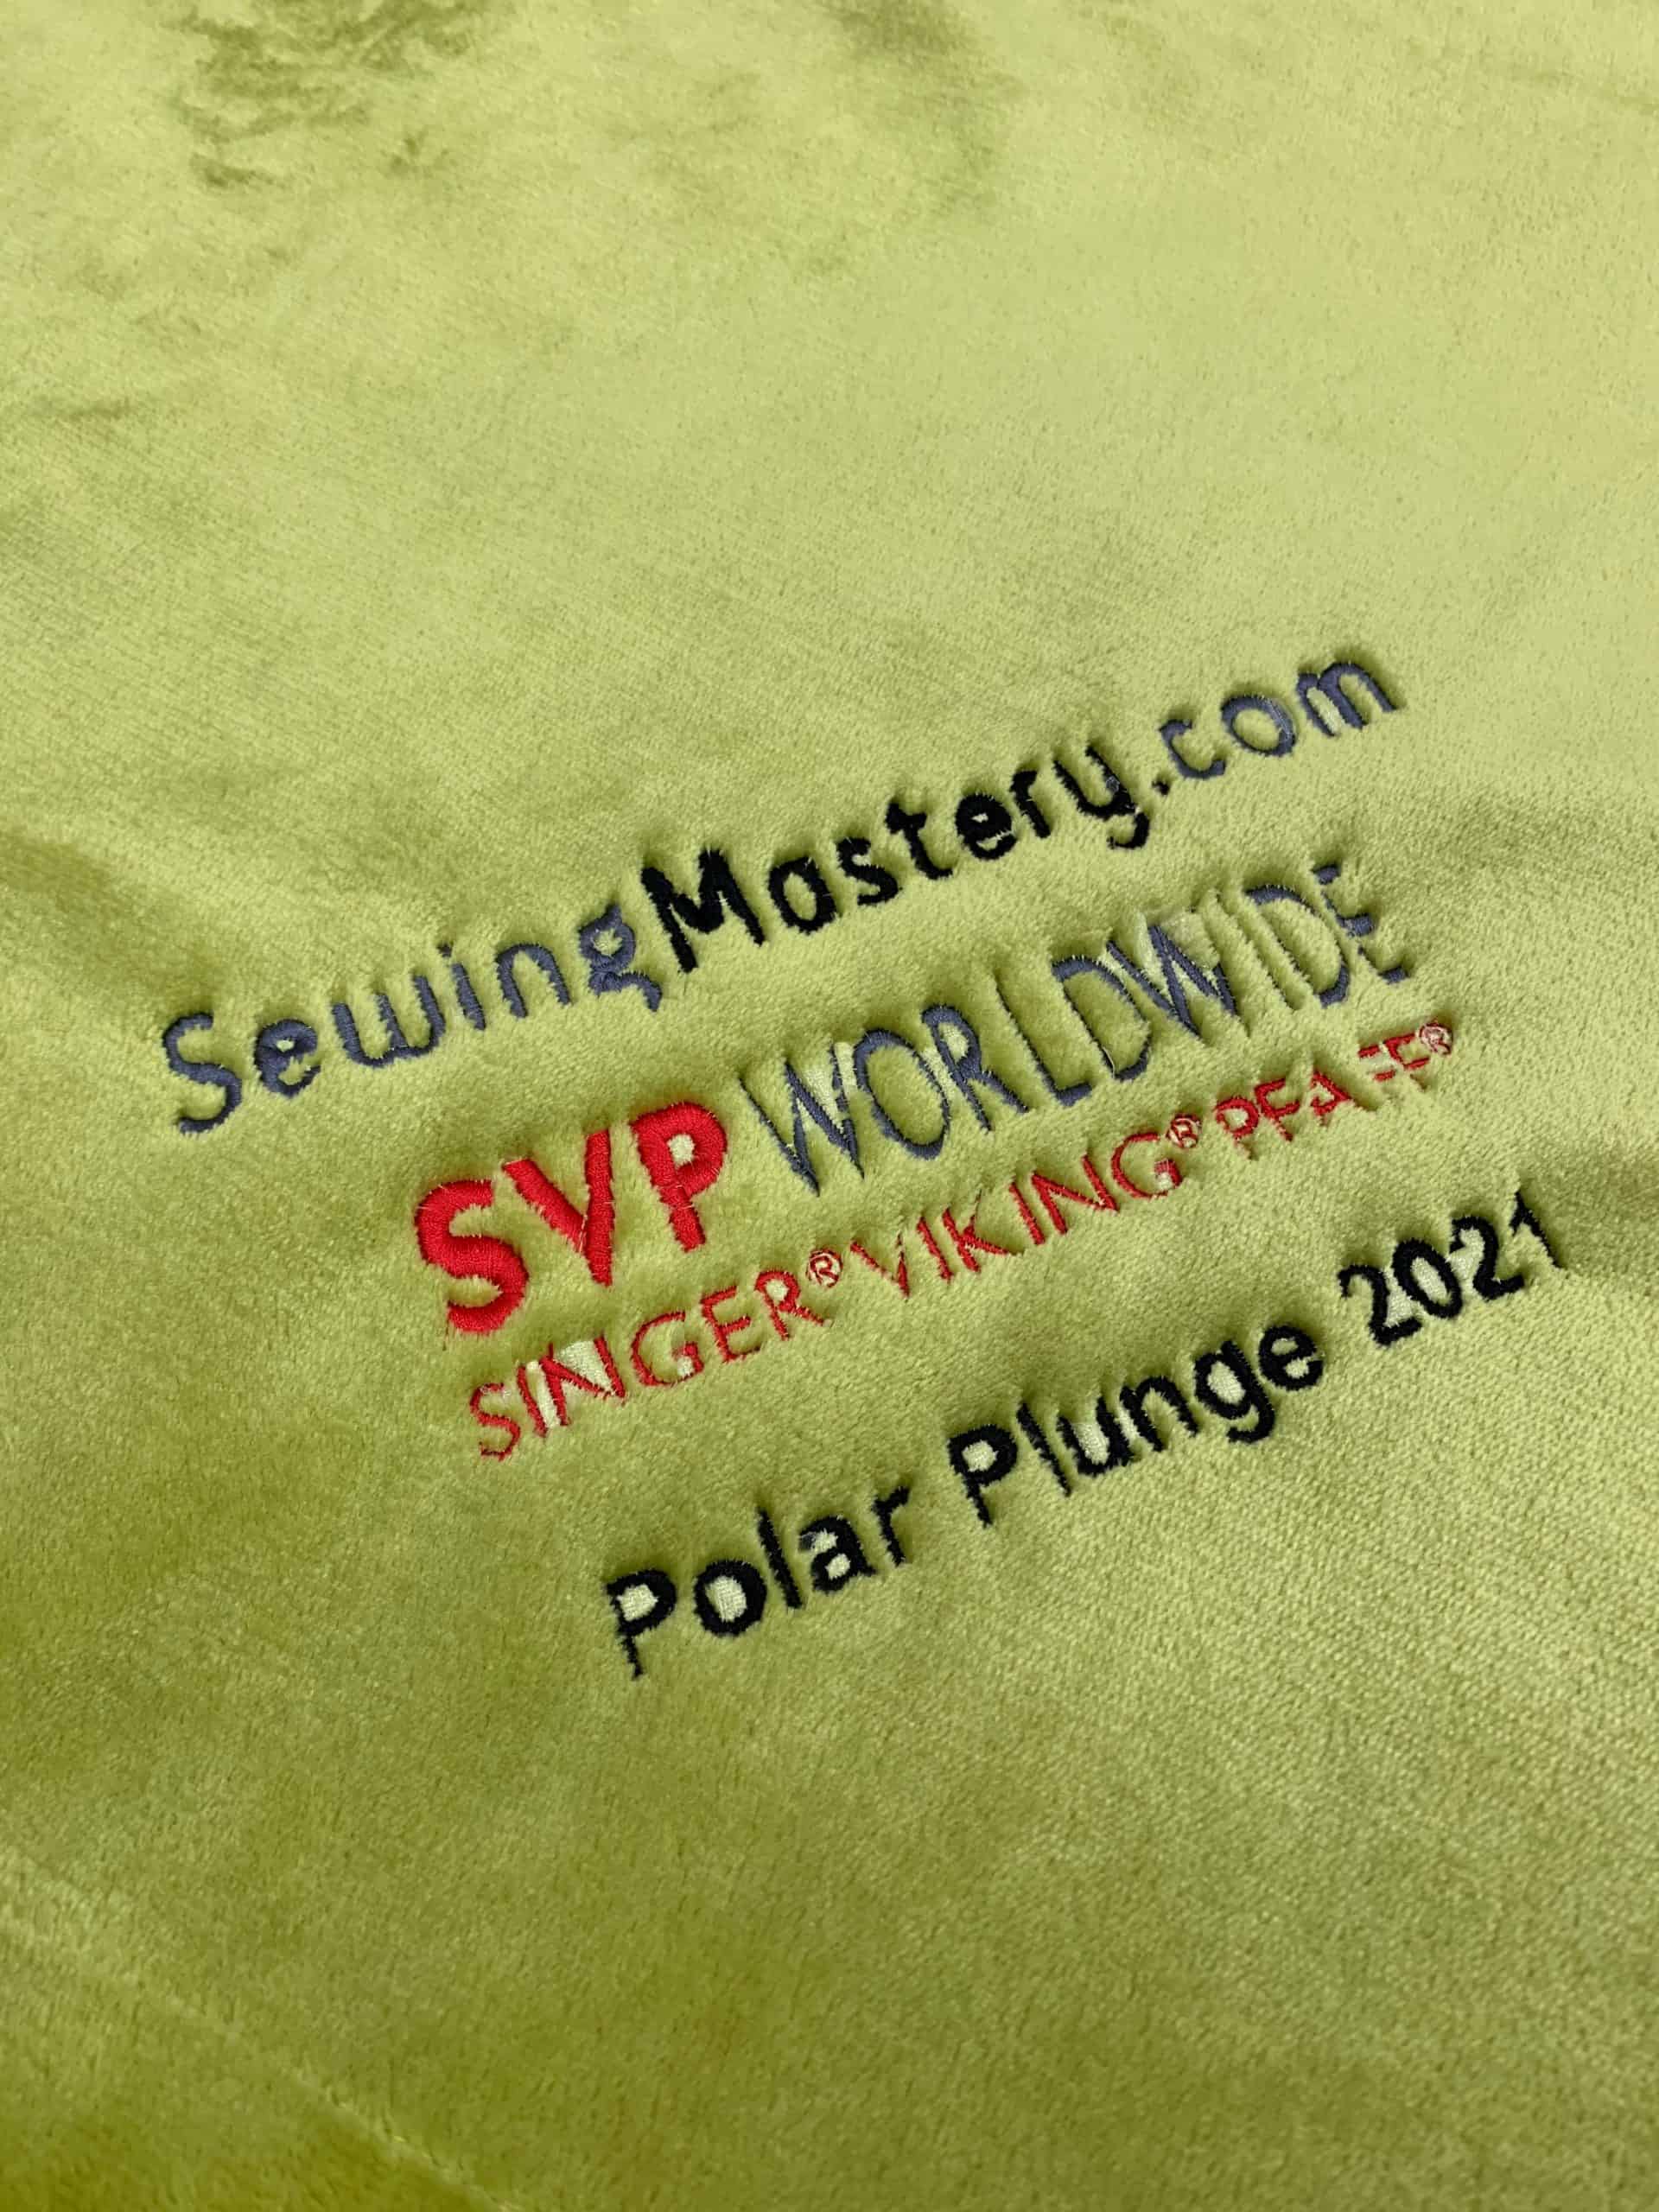
When you decide to do a Polar Plunge and raise money for Special Olympics, you HAVE to embroider warming blankets for all the entire SewingMastery Polar Plunge team! Continue reading to learn how to embroider on blankets and how you can support the SewingMastery Polar Plunge TEAM.
If you have benefited from any of our FREE sewing machine tutorials, here is a way you can PAY IT FORWARD. Please consider making a small donation to our team! 100% of the donations go to Special Olympics. Click here to donate today.
Steve and Sara Snuggerud will be MATCHING
all donations made via the team’s website.
UPDATE: Scroll down to see how much money was raised and to see the Polar Plunge!
MEET OUR POLAR PLUNGE SPONSOR:
Thank you Husqvarna Viking, Pfaff, and Singer for sponsoring the SewingMastery Polar Plunge TEAM with your generous donation of $500!
Yes, we will be filming our Polar Plunge taking place in Yankton, SD on May 1, 2021! Watch for the actual polar plunge video coming soon!
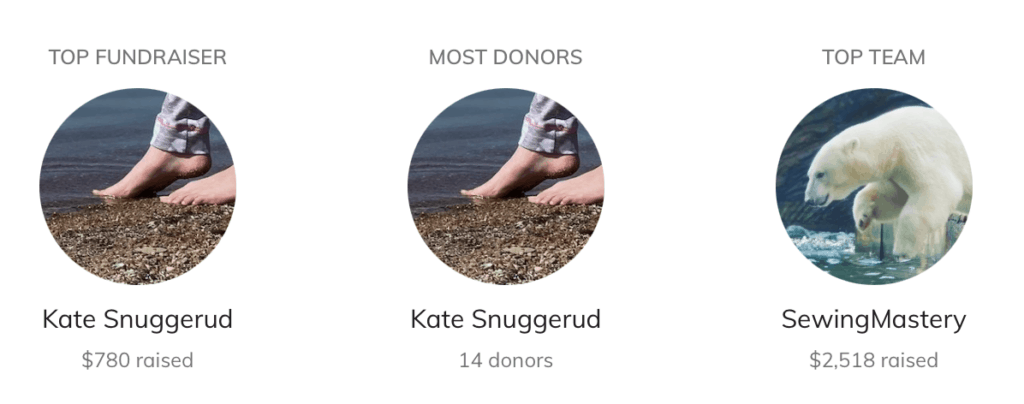
Currently, my 12-year-old daughter Kate is the SewingMastery TEAM fundraiser leader. If you wish to donate to Kate, please click here.
How to Embroider on Blankets
Since I had never embroidered on a blanket of this thickness before, I allowed time for both testings of the embroidery design AND testing on a similar thickness of the fabric.
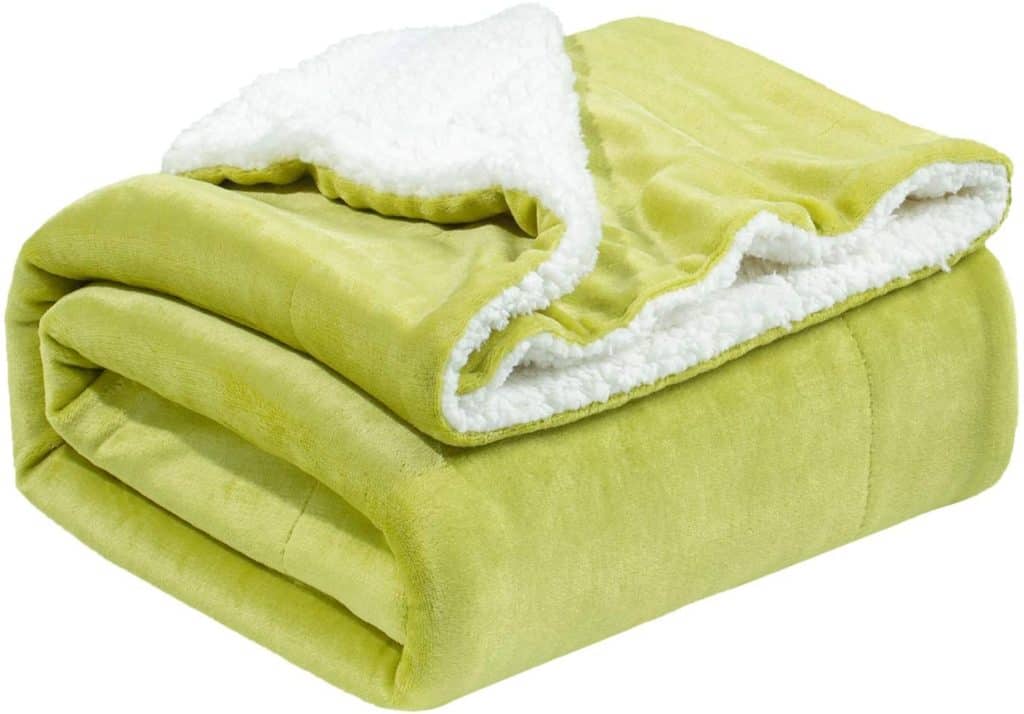
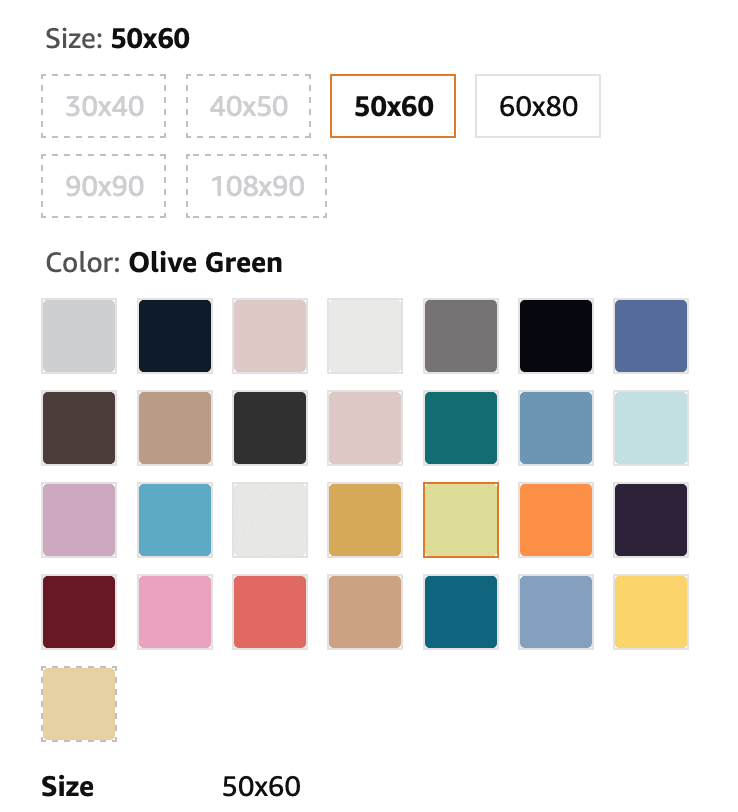
I found these blankets on Amazon in TONS of colors and in two different sizes. We selected the 60 x 80 blankets for all our plungers! The water temperature is currently up to 46 degrees – the BIGGER the blankets, the BETTER!
Test First – How to Embroider on Blankets
I am a fan of testing embroidery designs first on two layers of CutAway stabilizer. This allows the embroidery design to show any problems it might have without fabric being a variable. I fixed the missing stitches in the SewingMastery logo and corrected the density problem I accidentally created when enlarging the SVPWorldwide logo.
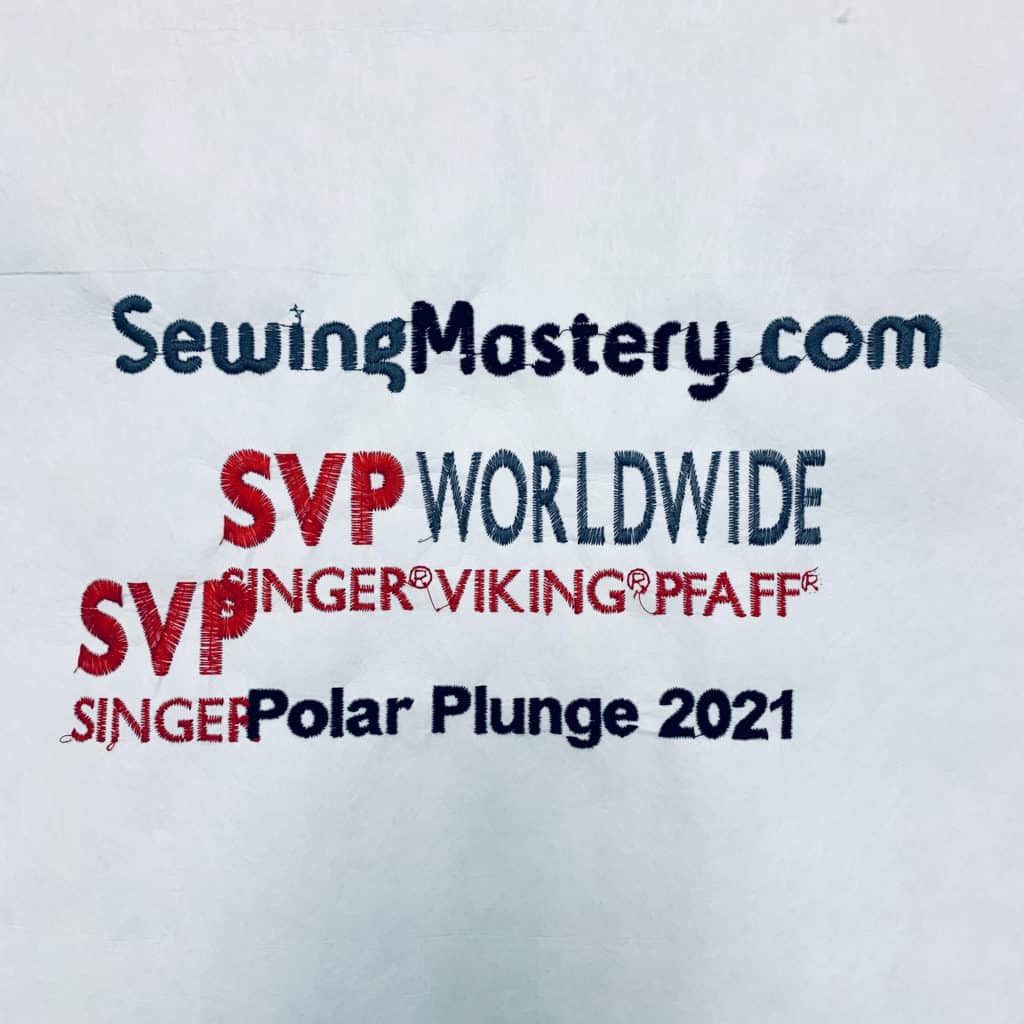
Once the design has met all qualifications, I moved on to testing the embroidery design on fabric.
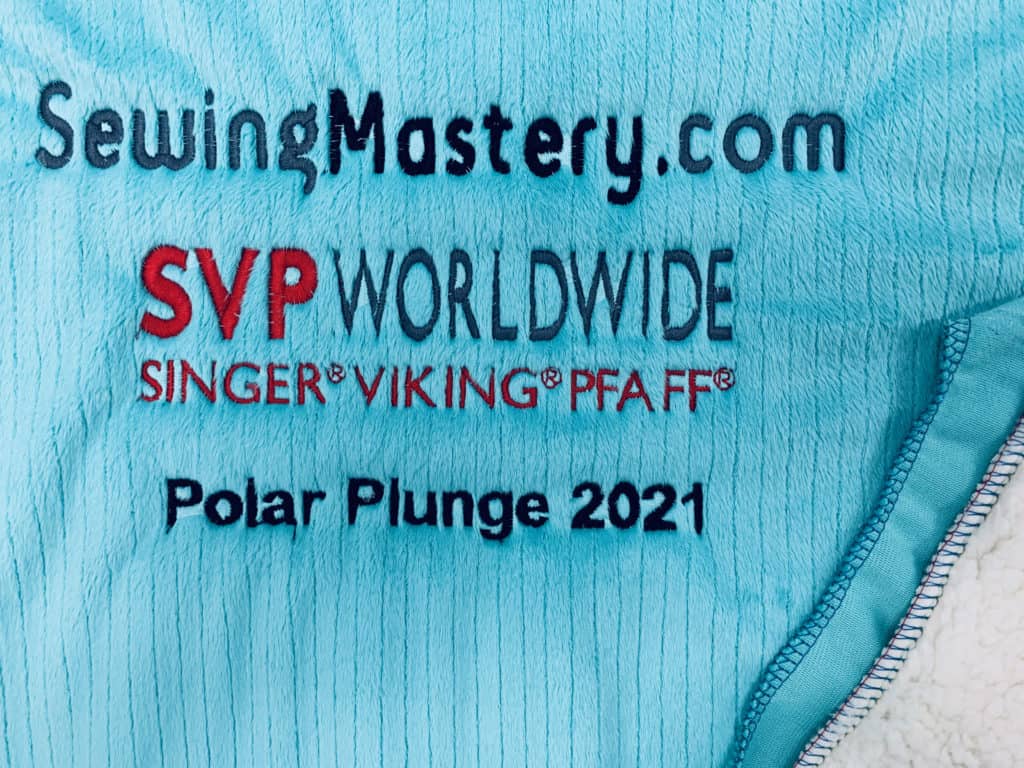
Since I did not want to do my first test on an actual purchased Sherpa Fleece Blanket, I headed to my local fabric store and purchased one piece of sherpa fleece and one piece of Minky fabric to layer together to simulate the thickness and slipperiness of the blanket. Using the planned stabilizer backing and water-soluble stabilizer for the top, the final test of the design was stitched.
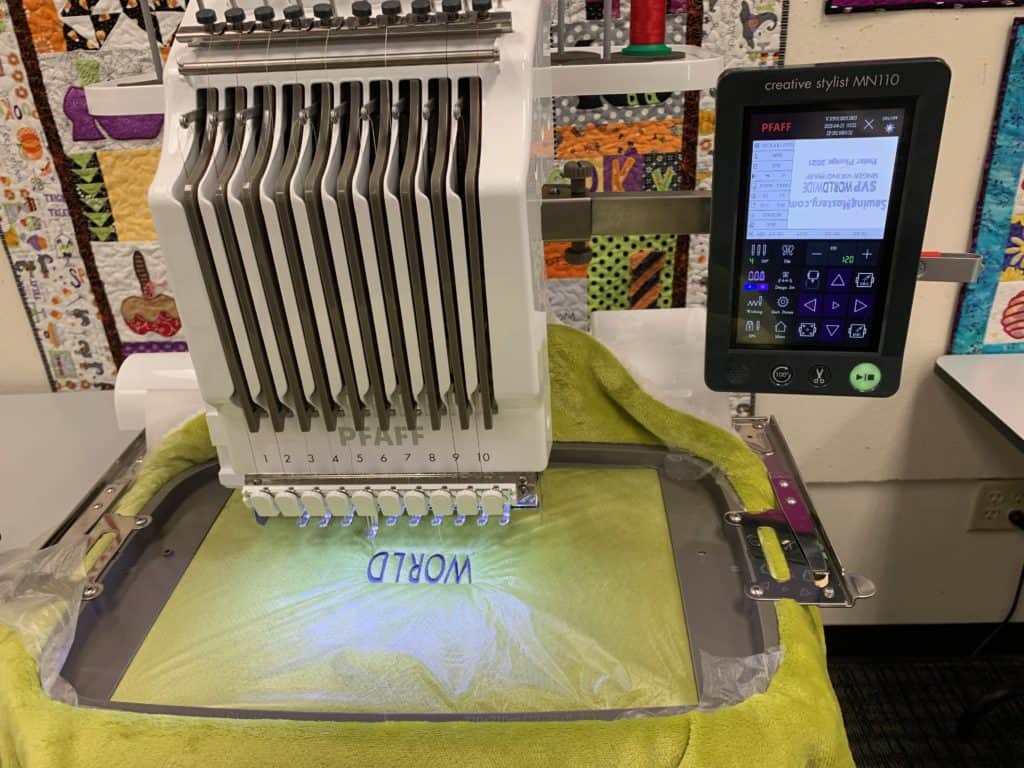
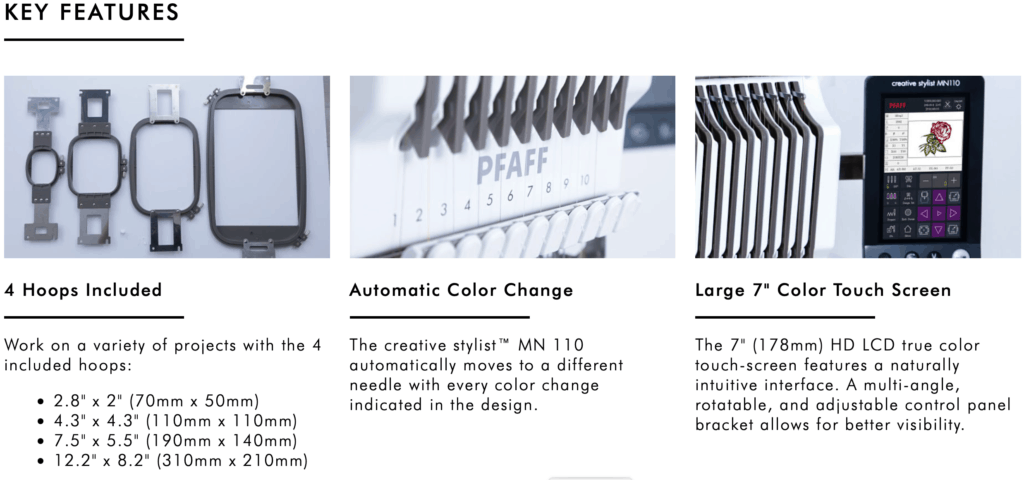
To help speed up the process, I choose to embroider the blankets using the Husqvarna Viking Platinum MN1000 / Pfaff creative stylist mn110 embroidery machine. This power-house embroidery machine took hours of time off the entire project with its speed and the elimination of thread changes. If you are ready to up your embroidery game, check out these models at your local Husqvarna Viking or Pfaff retail store.
More blanket pictures coming soon!
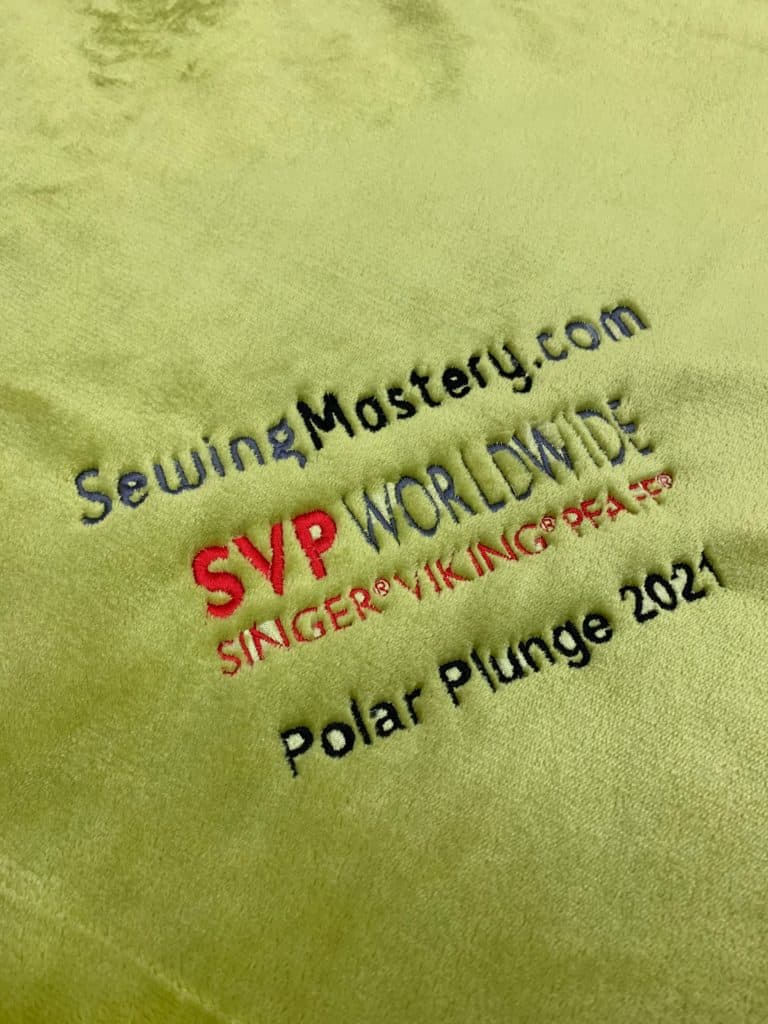
Thank you to everyone who has already donated to our Polar Plunge TEAM! Click here to donate to our Special Olympics Polar Plunge SewingMastery TEAM by May 1, 2021.
Steve and I will be MATCHING ALL donations to any of our team members via their fundraising page!
💚 We LOVE you SewingMastery Fans! 💚

