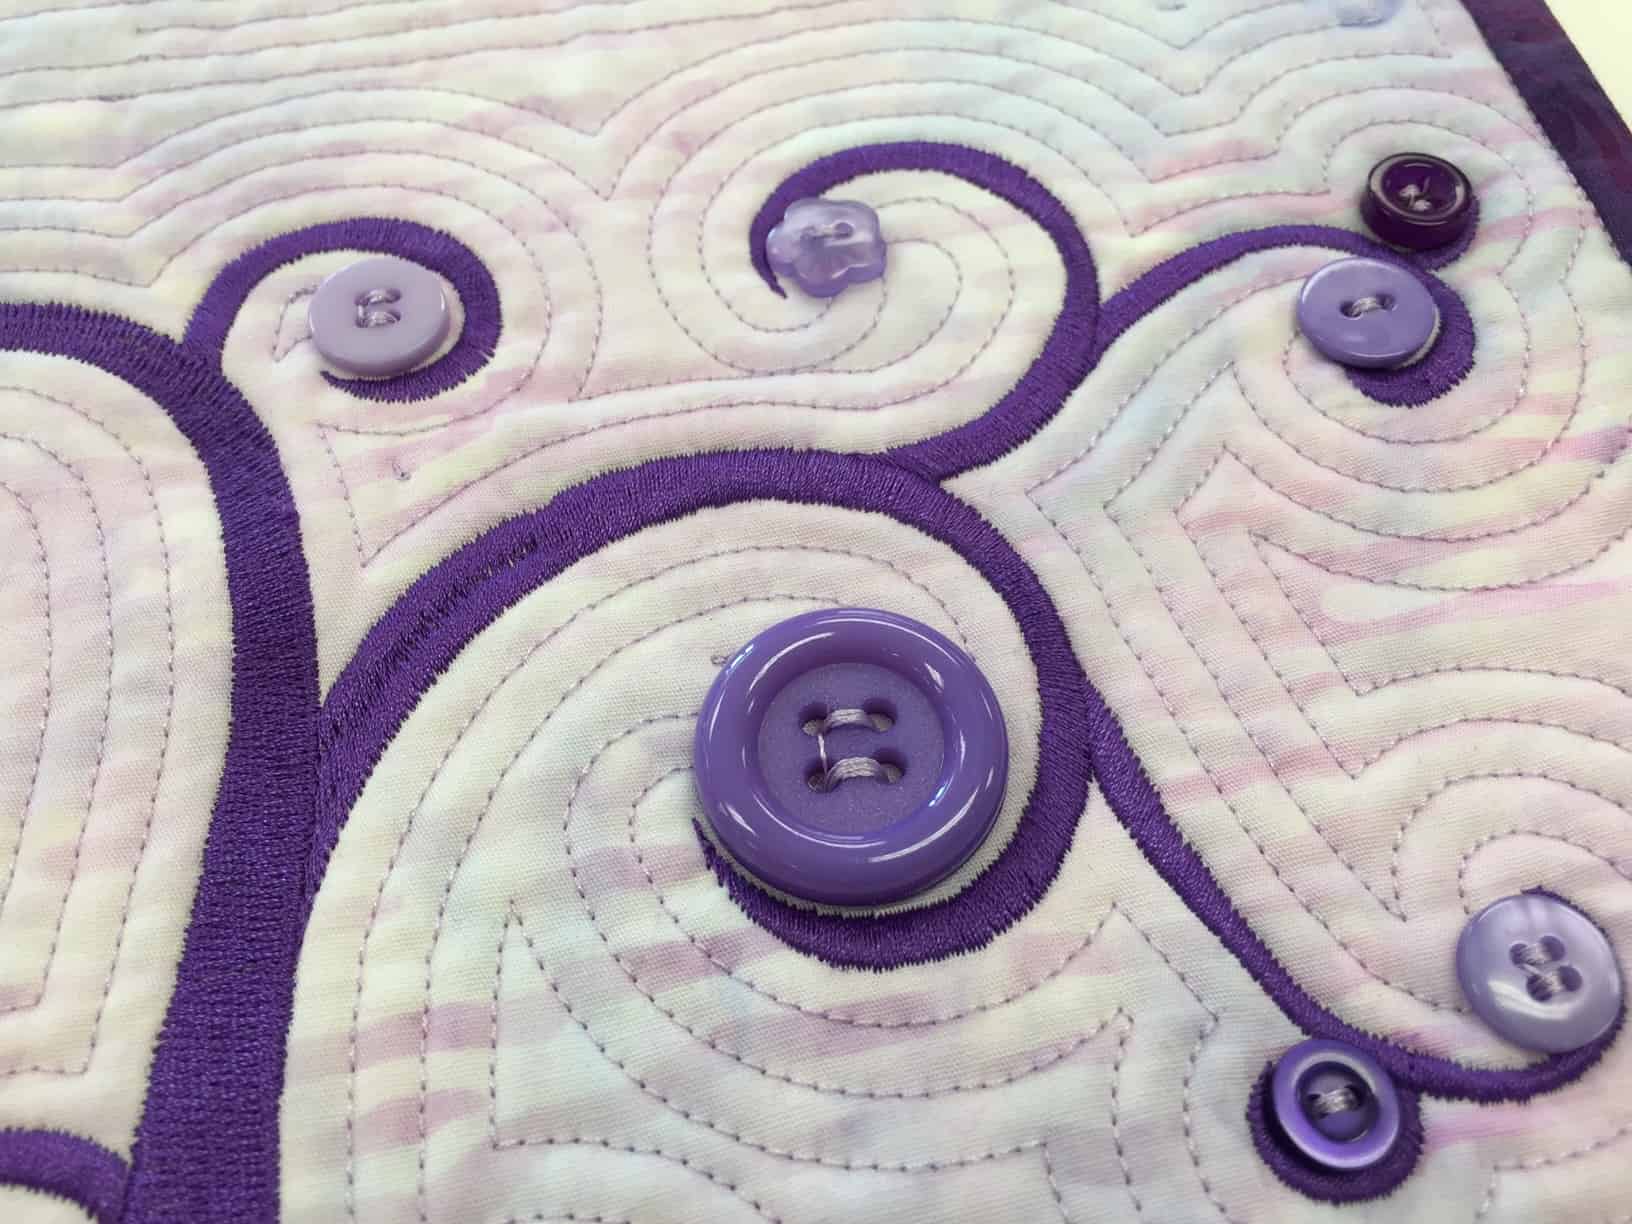
Sewing on buttons with a sewing machine still surprises people to this day. Yes, you can sew buttons on with a sewing machine.
Sewing buttons on by “H-A-N-D” is sometimes referred to as a four-lettered word. And some people just throw away perfectly good clothes that have had a button mishap without thinking twice. With fewer sewing classes at the middle and high school levels, kids are missing out on one of the most basic skills of sewing.
Any sewing machine with a zig-zag stitch partnered with a button sew-on foot can have a button back in place within minutes.
Sewing machine companies have had feet to sew on buttons going back to when a sewing machine could first sew a zig-zag stitch. Though button sew-on feet look slightly different from brand to brand, the concept is all the same: provide a way to see the holes for aligning and gripper teeth on the bottom of the foot so the button does not slip out of position.
The following videos highlight the tips and tricks to sewing buttons on with a sewing machine. Covering everything from 2-hole to 4-hole buttons, these videos are more popular than ever.
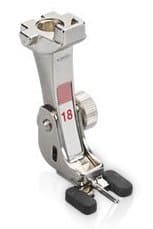
Bernina Button sew-on Foot #18:
The central pin can be adjusted for a longer or shorter thread shank or moved out of the way so that the stitch does not form over it at all.
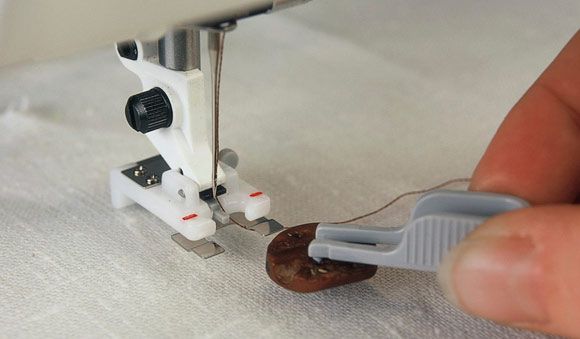
Husqvarna Viking Button Foot:
Raises the foot slightly off the fabric, has a Retractable Thread Shank Guide that is adjustable, and comes with a button placement tool.
Janome Button Sewing Foot: This foot has the blue rubber toes to hold the button in place. There is a button shank plate available to create the threaded shank.
Shank buttons still to this day must be sewn on by hand. Shanked buttons are often found on winter coats or are much larger in size than traditional 2-hole or 4-hole buttons.
Before starting to sew buttons on with a sewing machine, lower the feed dogs. This will keep the feed dogs from accidentally moving the button out of position. If a machine does not have the ability to lower the feed dogs, adjust the stitch length to zero.
The zig-zag stitch width for 99.9% of all buttons is between 3-4mm. For mechanical sewing machines, set the stitch width manually and check that the swing of the needle goes into each hole smoothly. For computerized sewing machines, look for the built-in stitch that is pre-set for the stitch length and stitch length for most buttons.
Here are a couple of examples of what the button sew-on built-in stitch looks like.
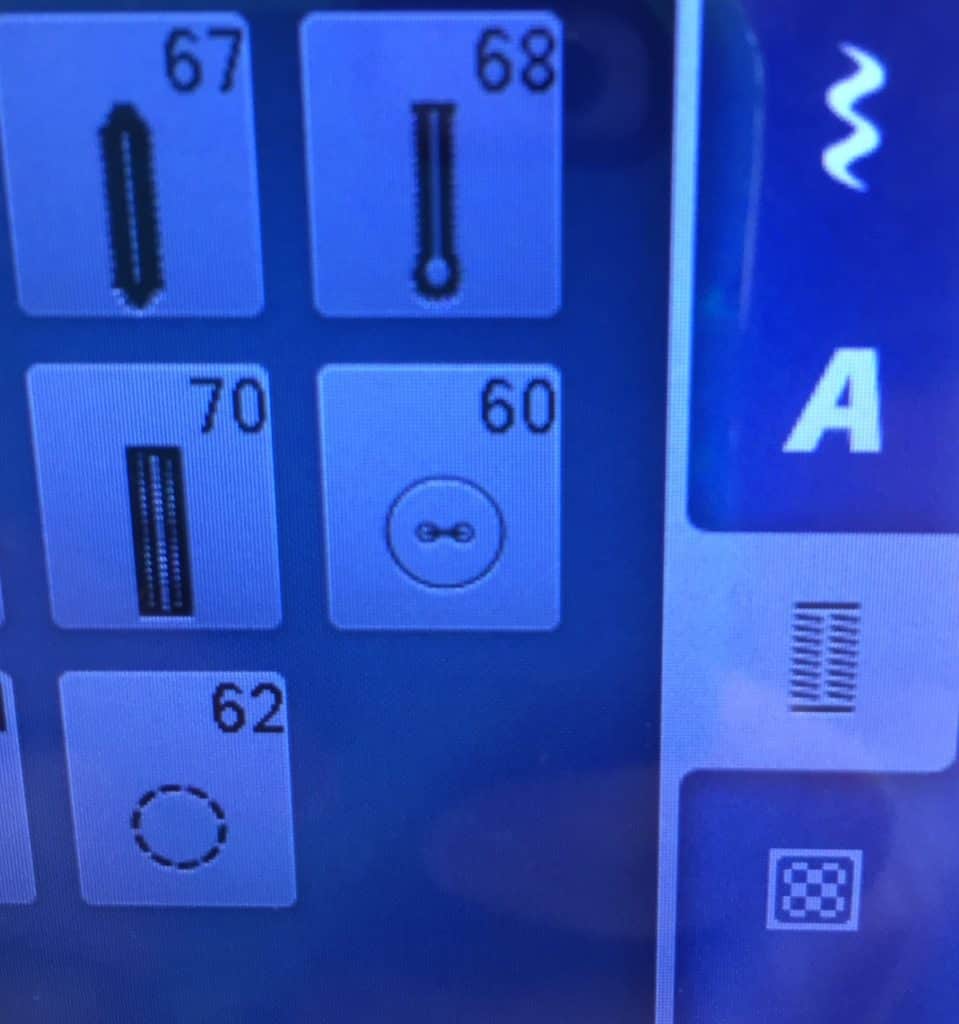
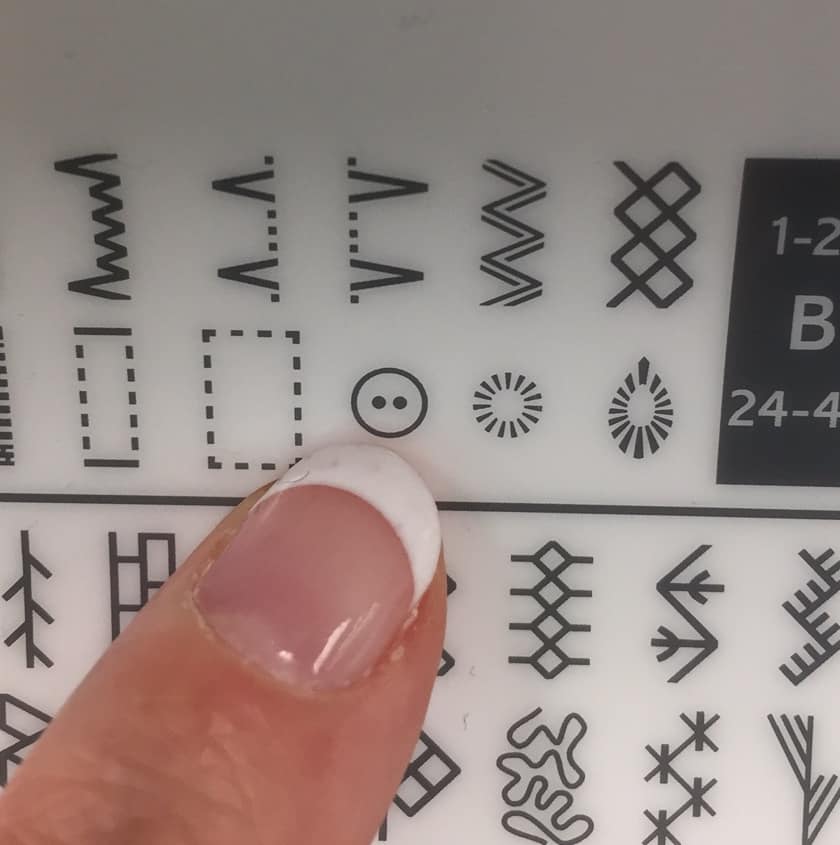
To make sure buttons do not fall off in the future, squeeze a drop of sam sealant on the threads of the button stitching. Once dried, the threads will be glued together and will not come apart after future uses and washings.
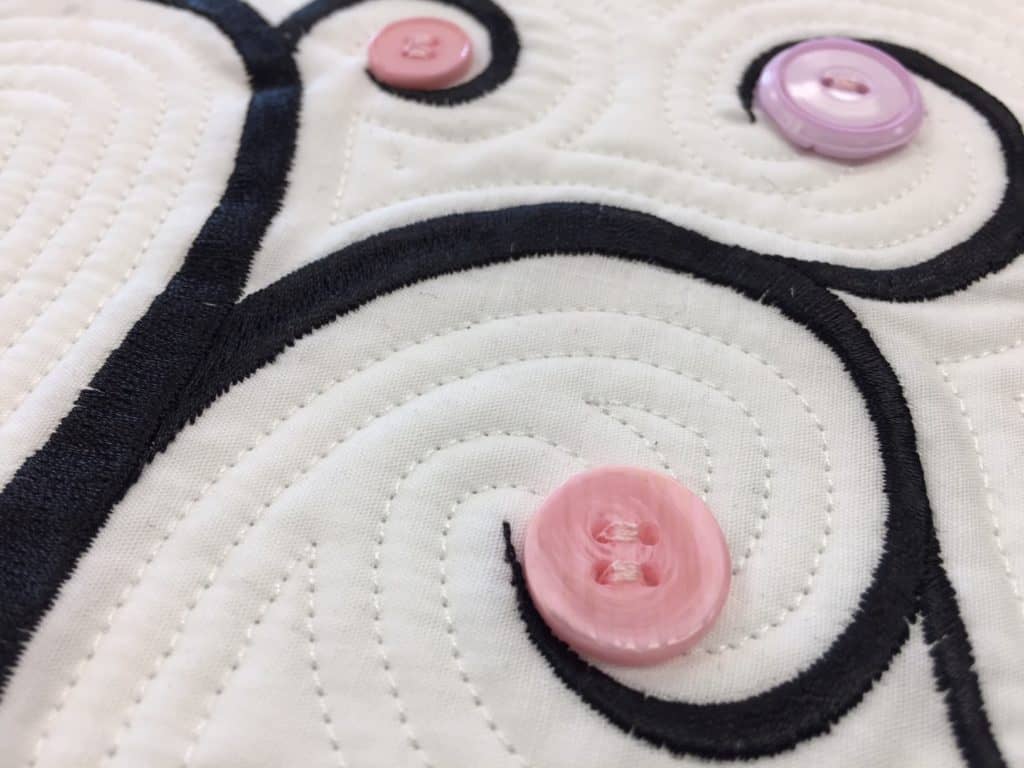
Sewing other items beyond buttons can use this same technique. Items such as snaps, curtain rings, ribbons, pant hooks, or anything that can fit under a sewing machine foot can be sewn on with a sewing machine. Adjust the stitch width as needed to properly attach the item securely.

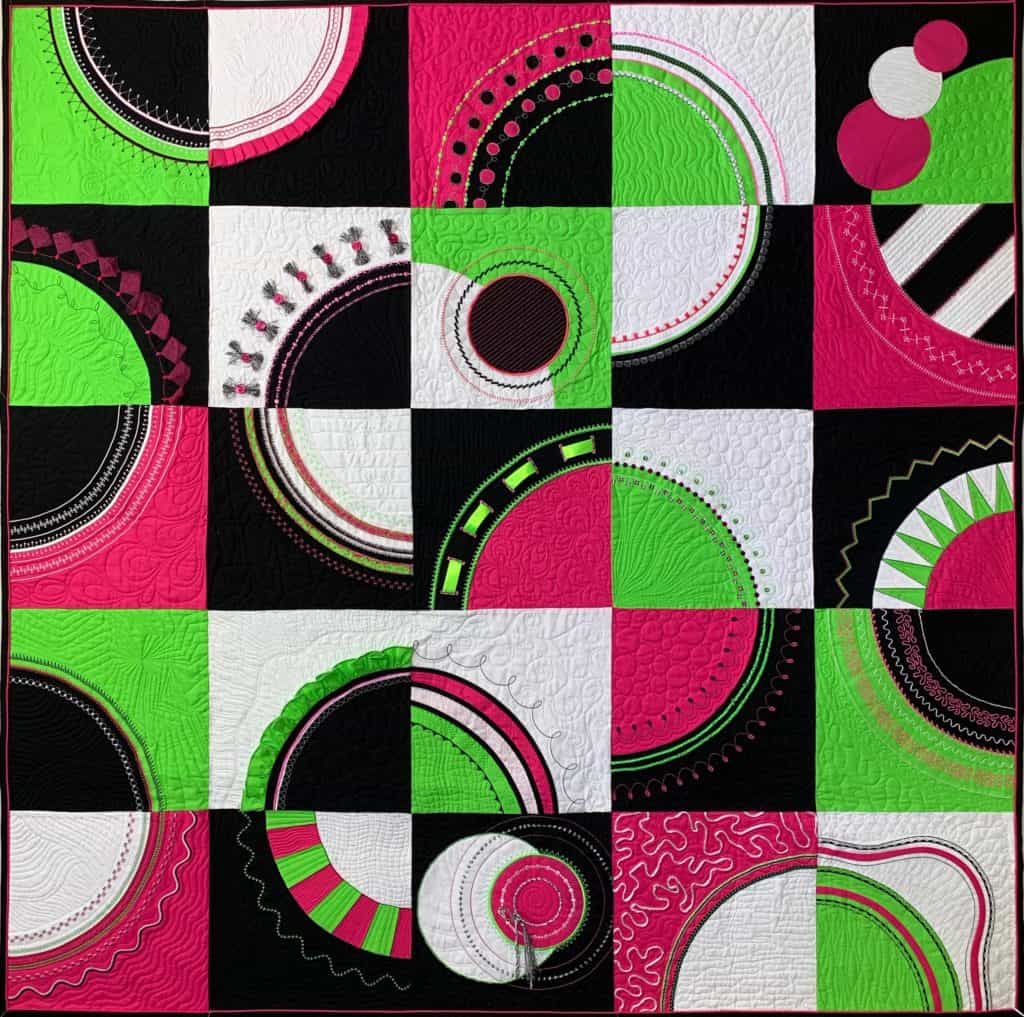
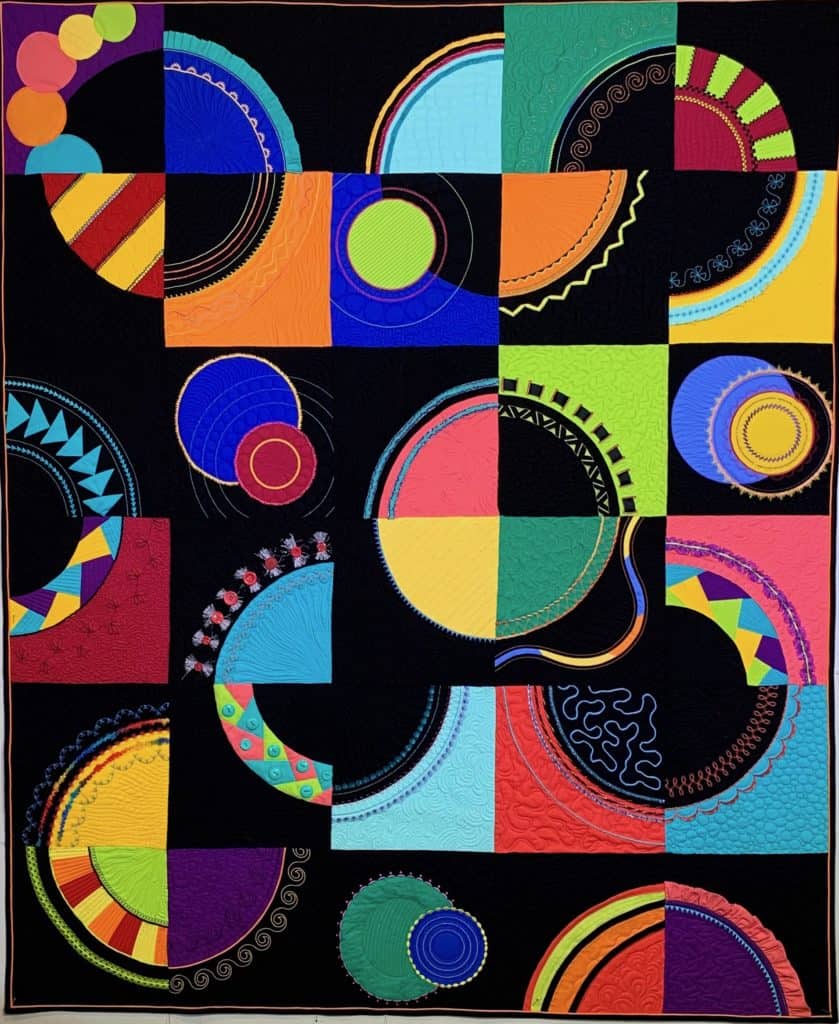
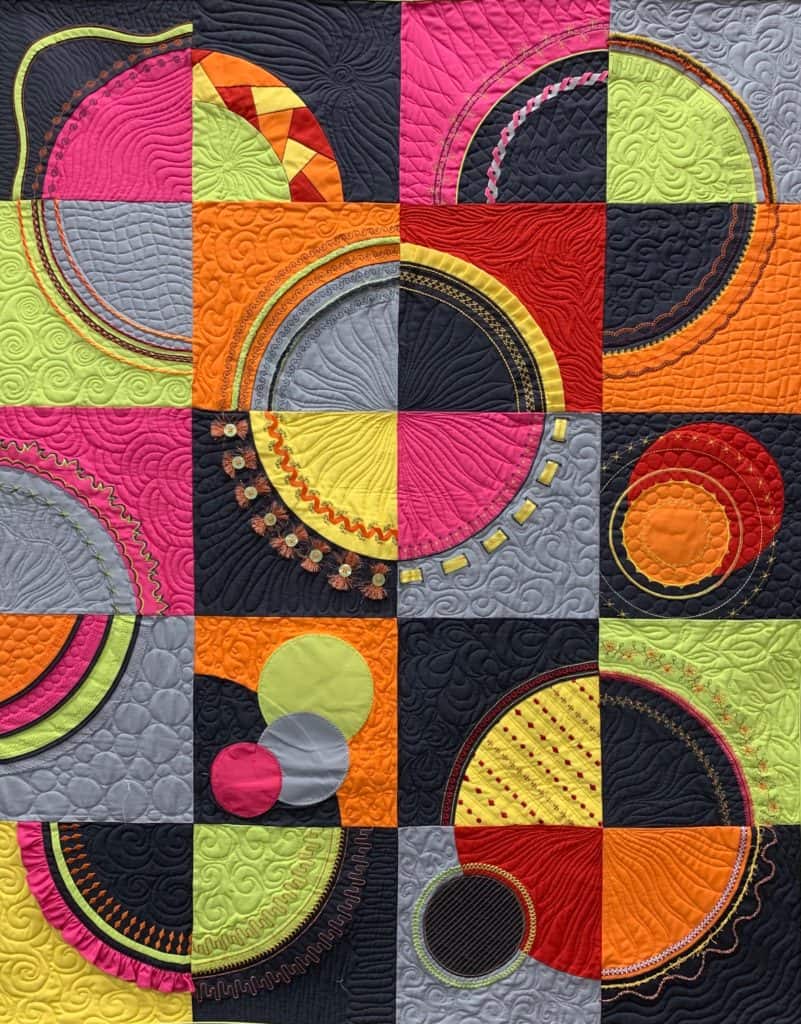
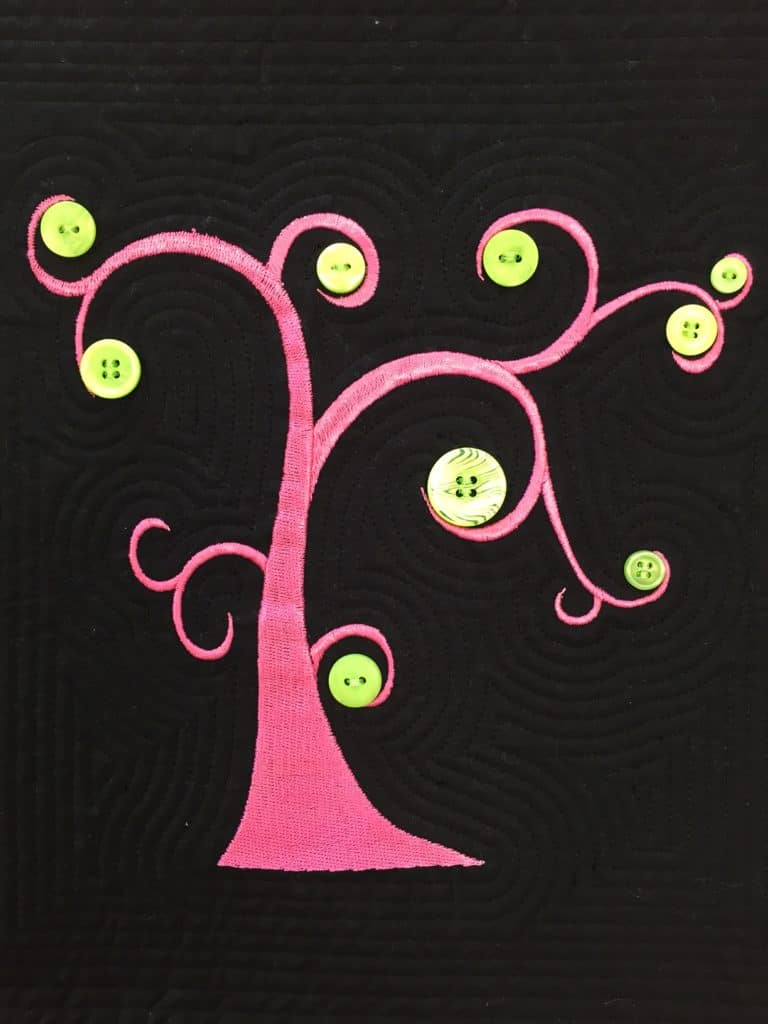
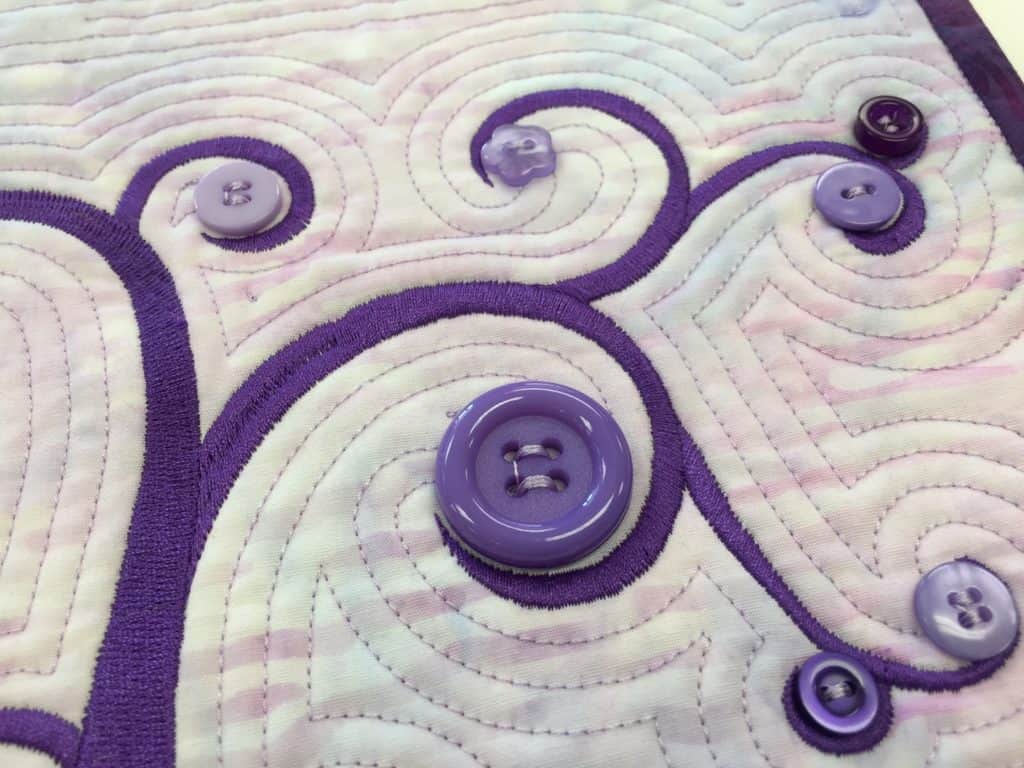
Button sew on feet were used in this Stitching Cosmos block to add button accents to the thread tassels. The Stitch Cosmos class will be filmed as an online course in 2018. Sign up to receive the Sewing Mastery e-mails to be notified when this course is available.

