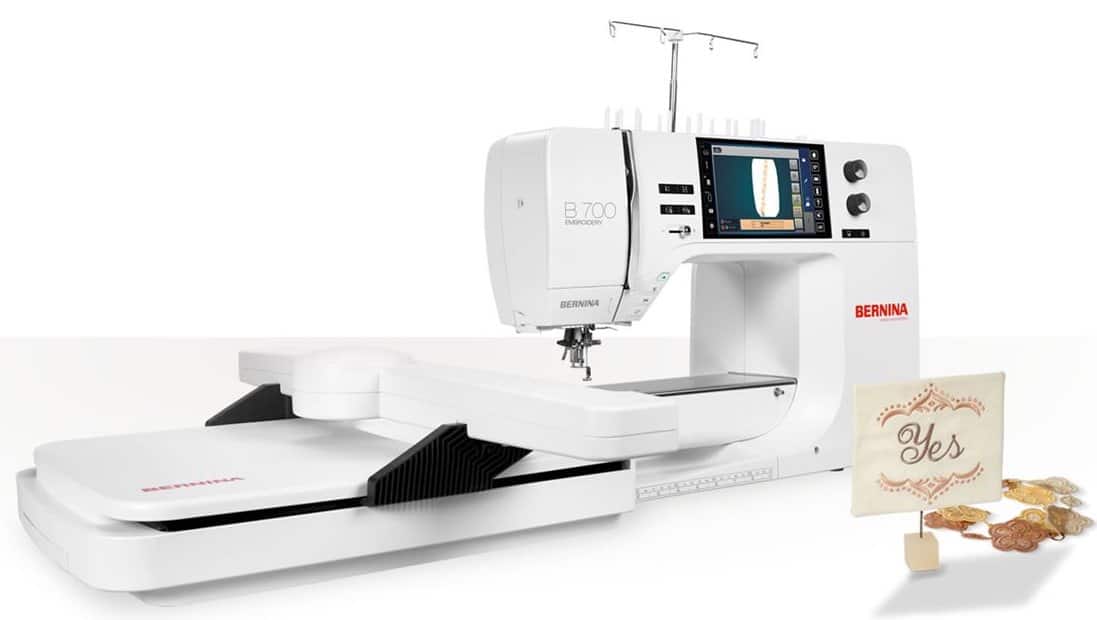
Congratulations! You finally said “YES” to your first embroidery machine.
Now What?
If embroidery is something you have never done, it will feel like you are starting from scratch. Yes, it might thread slightly different than your sewing machine and the pictures on the screen make no sense at all, but little by little you will learn what each area is for, how to hoop your fabric and how wonderful it feels like to complete your first official embroidery project.
We have assembled 10 MUST DO items to complete within the first three months of owning your new embroidery machine. These suggestions will get you started quickly and on a life-long path of embroidery enjoyment. This is not a set order of items, so please do them in the order that works best for you.
1. Schedule and attend your embroidery machine classes.
Most sewing machine stores offer a handful of basic embroidery classes to get you familiar with the embroidery machine. Take advantage of all education that was included with the purchase of your machine.
If you didn’t get classes with your purchase, seek out a store that has embroidery classes you can attend. Even taking embroidery project-based classes will greatly enhance your base knowledge of your machine. Even I learn new tips and techniques in every class I take. Education is never-ending.
2. Open the embroidery machine and embroider a few built-in embroidery designs prior to your first class.
Your teacher will thank you! Even if everything goes wrong, at least you are learning what not to do! We highly recommend attempting to embroider something prior to your first hands-on class. By trying something (anything), you will not be totally green when you get to class. And, you will have some great questions lined up to ask your instructor.
3. Enroll in Sara’s “Embroidery Essentials Online Course”.
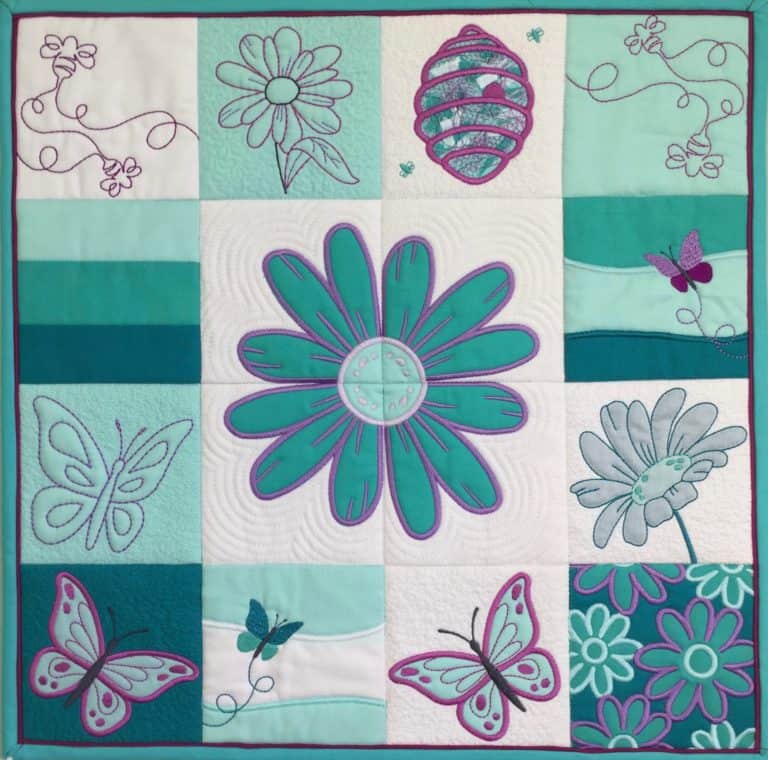
If you want to FAST-TRACK your embroidery journey, enroll in Sara’s “Embroidery Essentials” Online Course. This course is designed to help you master your embroidery machine through a series of EASY, repetitive motions while learning how to embroider 15 DIFFERENT embroidery techniques. With LIFETIME access to 3 1/2 hours of embroidery content and 90 minutes of bonus lessons, you can repeat lessons often and for years to come.
3. Read your embroidery machine’s manual AFTER your first hands-on class or the Embroidery Essentials online course.
Whether you are more of a visual learner or you just like to jump in feet first, plan to read through the manual after your first class. The information, pictures, and tips will make much more sense after the class.
4. Sign up for any and all embroidery events your local stores are hosting.
When stores play host to embroidery experts, embroidery trunk shows, or offer embroidery project classes, get signed up early! Embroidery events are fun, entertaining, and educational, so they always fill up fast. Take as many classes as possible. You are going to learn something new from every teacher.
Embroidery events are also a great place to meet other embroiders, see what other people are making, be inspired to try new things, and go home totally pumped! Kimberbell and OESD (OESD Super Spree events) offer nationwide events at many stores that carry their products and embroidery designs.
Don’t forget to check out stores that sell other brands of embroidery machines. Most of the time they are happy to have one more person in class even if you own a different brand of machine.

5. Buy a Basic Stabilizer Set
There are three basic stabilizers to always keep in your embroidery arsenal:
- Cut Away – for stretchy fabrics like knit, sweatshirts, and denim
- Tear Away – for woven fabric like cotton, linen, dish towels, and terry cloth towels
- Wash Away – a topping for napped fabrics like terry cloth towels and fleece
There are numerous variations of each of these stabilizers. As new projects are started, buy the stabilizers that are recommended for the best results.
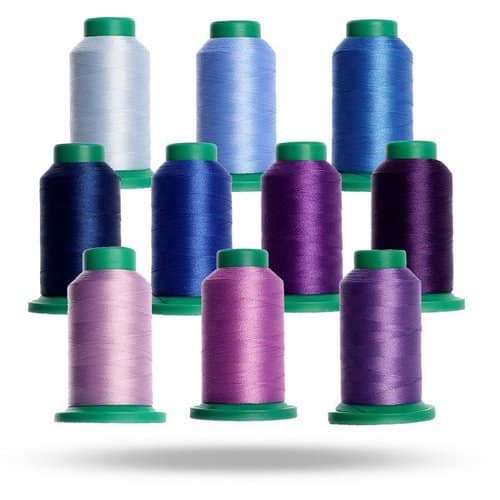
6. Start your thread collection.
Start off on the right foot by selecting quality embroidery thread. (Read our post “Which One is Better? Rayon or Polyester Embroidery Thread“). Buying a starter pack of thread colors is a simple way to start. You will find that you will continue to add colors as different embroidery designs call for different shades. Unless you are going to buy one of every color to start with, build your thread color collection as you need the colors. Pick up a thread chart and begin checking off the colors you own to avoid buying duplicates.
7. Watch some online tutorial videos.
Once you have started to get your embroidery feet wet, take some time to explore additional online education videos. Here at SewingMastery.com we have built a video tutorial library of over thousands of sewing, embroidery, and serger videos to help you master your embroidery machine.
8. Enroll in an online Craftsy embroidery machine class
Check out Craftsy’s many online machine embroidery classes for an amazing and thorough embroidery experience. Join other embroiders as you work through additional embroidery information. Don’t like your class? Craftsy offers a 30-day money-back guarantee.
9. Practice downloading, transferring, and embroidering a design from a website
There are many websites that offer free and pay-for embroidery designs. Take time to practice the process of downloading embroidery designs from one of these many embroidery websites. Even your embroidery brand’s website will have monthly free embroidery designs for you to retrieve. Once you understand the downloading and transferring process, embroidery life becomes easy. If you are not computer savvy, have your sewing machine dealer walk you through the basic downloading and saving steps.
10. Schedule Your Annual Service
Mark your calendar for one year from the date you bought the embroidery machine to take it in for its first service. Many stores offer the first cleaning free with your purchase so don’t miss out on getting it serviced for FREE!
In Conclusion…
If you take the time to do these 10 MUST DO items, you are guaranteed immediate embroidery success. Make the most of your embroidery investment and have fun! If you get discouraged, know that there are many people and places you can reach out to for help.
Suggested Reading:
10 Tips for Buying Your First Embroidery Machine
Our Favorite Embroidery Stabilizer
Want to learn more? Visit our friends at Craftsy and take a class on Embroidery, Sewing, or Quilting online today.

