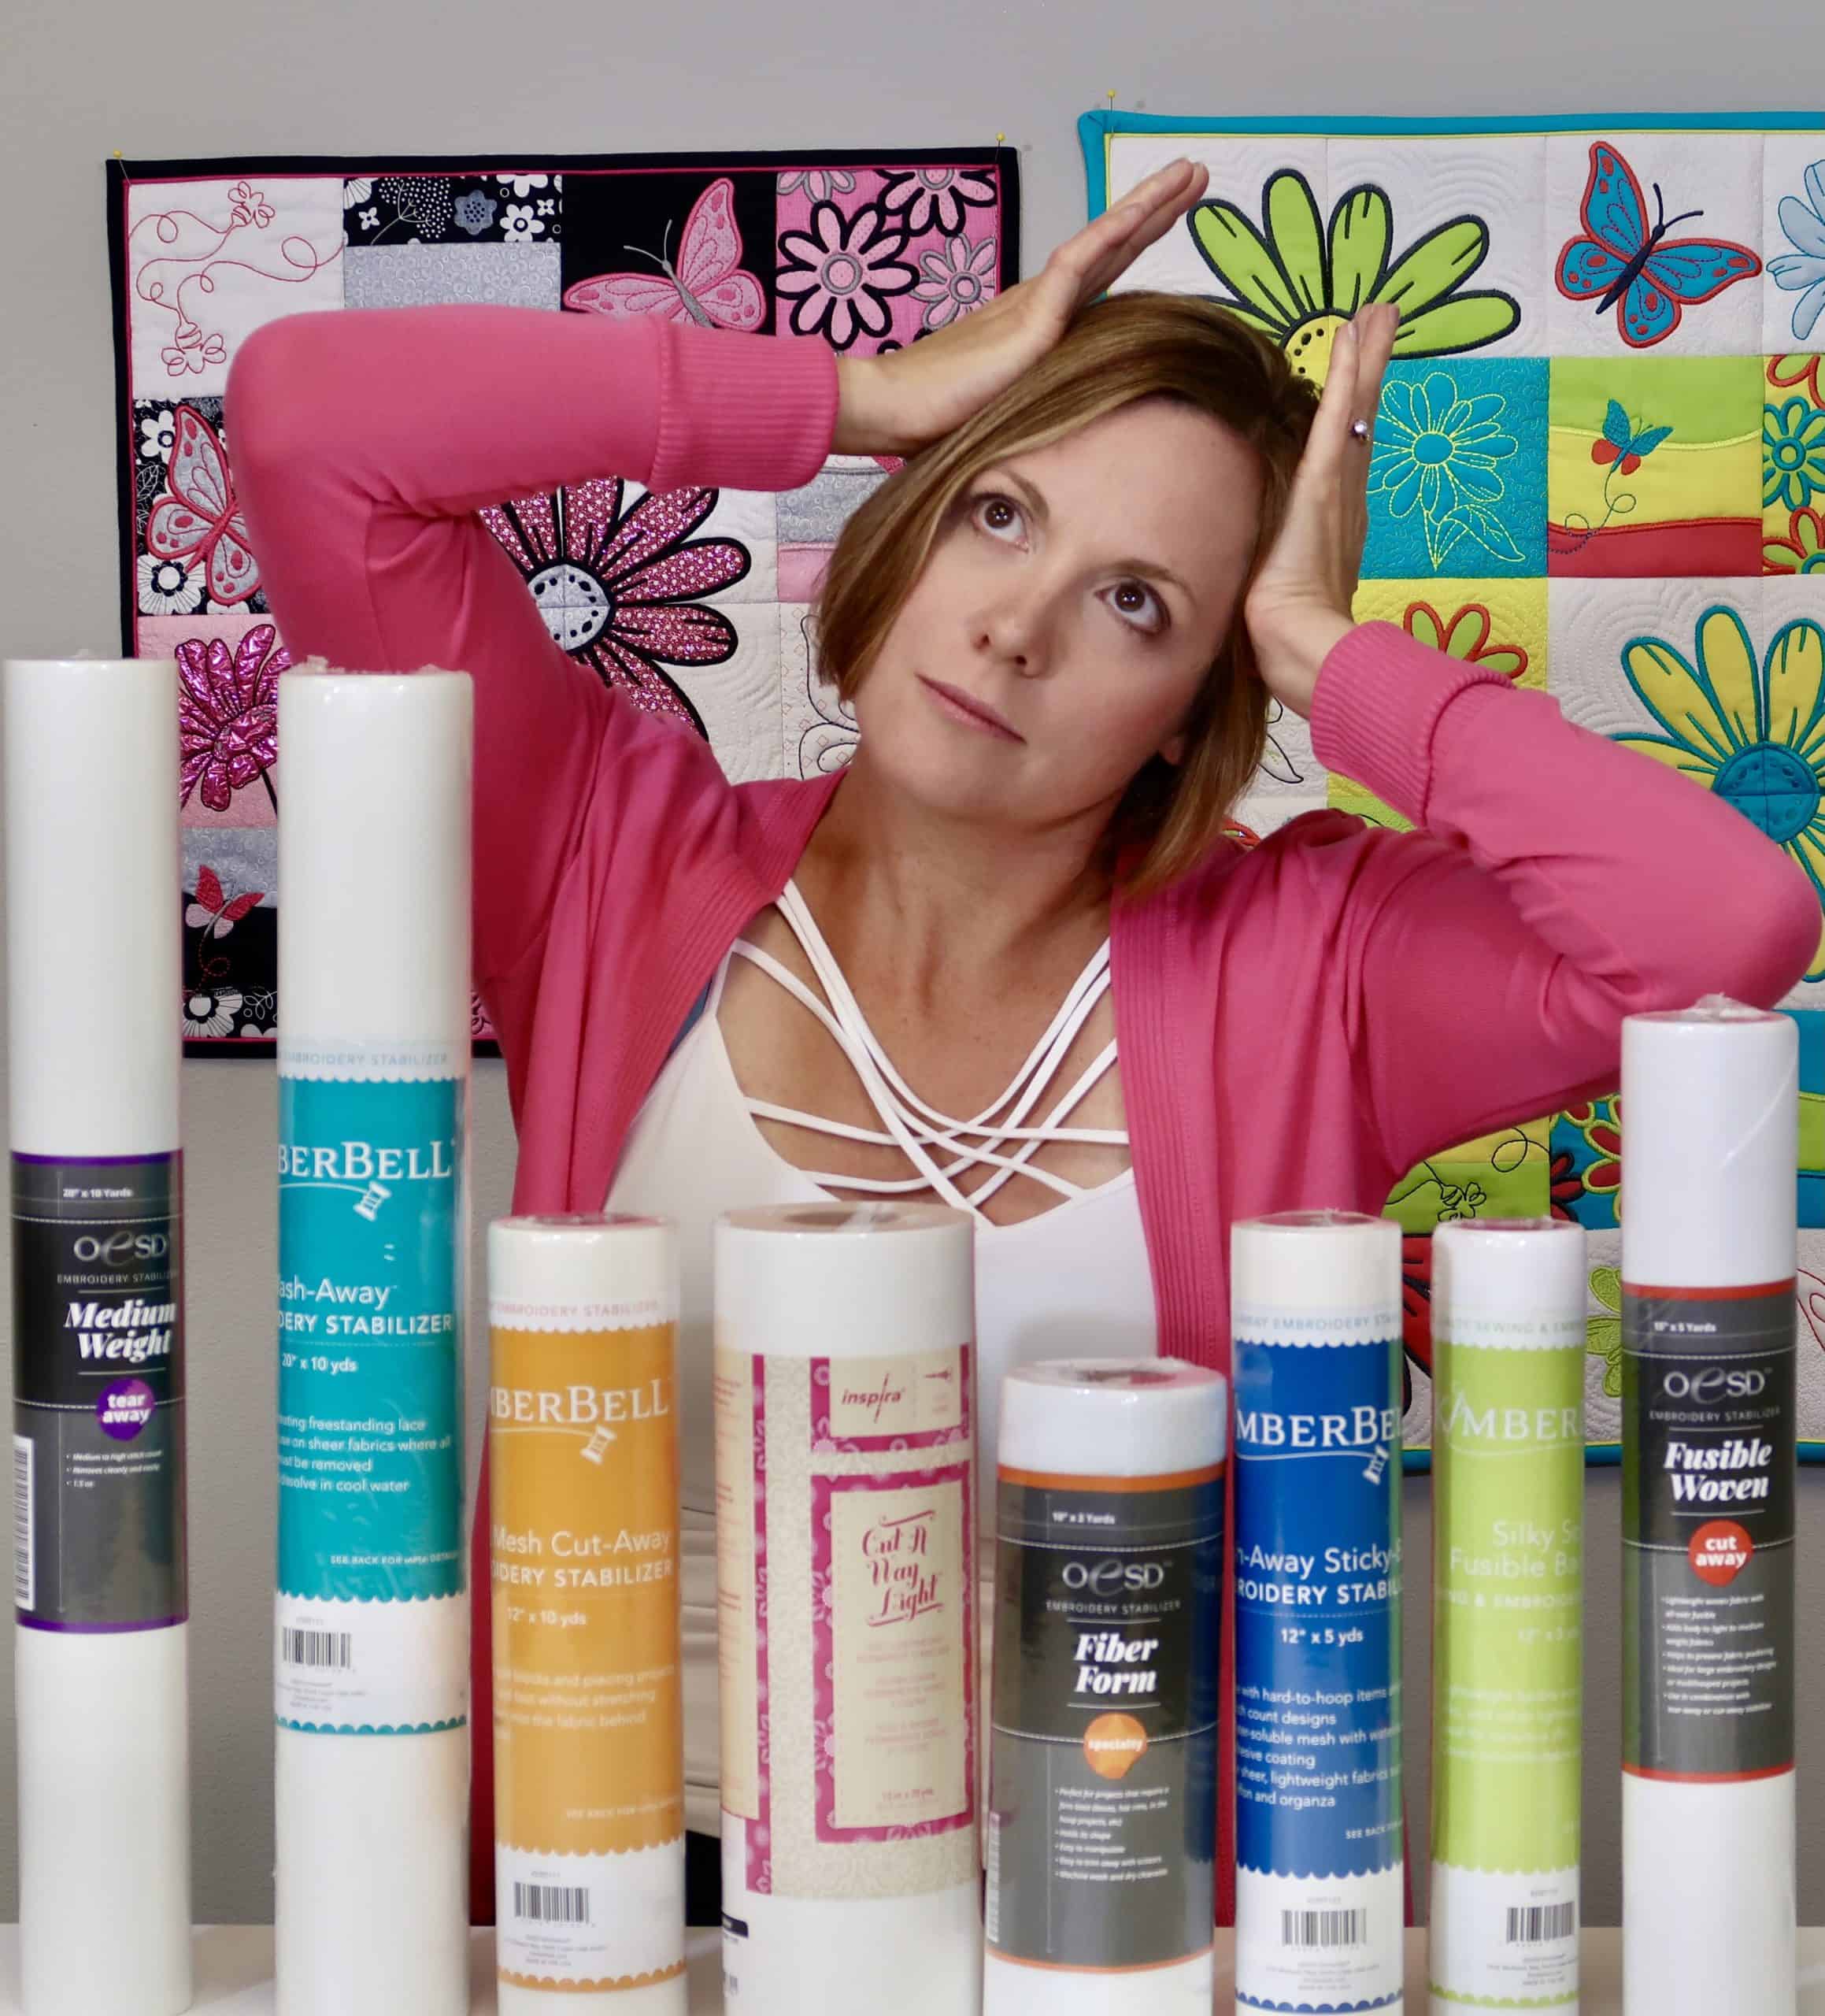
Are embroidery stabilizers still confusing? Here are 5 tips for mastering the basics for selecting the right stabilizer for your next embroidery project. Want a hands-on stabilizer class to help you master when and where to use the right stabilizer? Check out the Embroidery Essentials Online Course here.
The other day a customer was saying to me how confusing embroidery stabilizers were to her. After asking if she was new to embroidery (she said she had been embroidering for years) I asked if she had taken any classes. She explained she had mostly taken virtual classes and just used whichever stabilizer she had on hand for the class projects.
I quickly released she had been missing out on the entire concept of the classes she was taking. She was not using the stabilizers that were recommended on the supply list by the instructor. If she had taken the time to purchase the exact embroidery stabilizers and used them in the embroidery projects she was making she would have seen firsthand the importance of having the right embroidery stabilizers. She would have experienced a new product, been successful with the outcome, and been educated about why that embroidery stabilizer was the better choice for what was being made. Hands-on knowledge is 10 times more useful than just listening to someone talk about embroidery stabilizers. The only way to learn is to actually use them in the correct situation.
5 Tips for Selecting the Correct Embroidery Stabilizers
1. Always Follow the Pattern Designer’s Recommendations for Embroidery Stabilizers
These are the ones the WORK. The instructor has already tried out different stabilizers and has determined which one is BEST. If you are new to the world of embroidery stabilizers, this is the FASTEST way to learn which ones do what.
2. Alway Use TWO Layers of Embroidery Stabilizers
“There are those who use two layers of embroidery stabilizers and those that WISH they had.”
A Wise Embroidery Guru
Which one are you? Why take the chance of wishing you had used enough stabilizer to be successful. Don’t skimp out. Always use two layers of stabilizer even when testing out a new embroidery design.
3. Hoop the Stabilizer with the Fabric When all Possible*
For the best results, hooping the stabilizer with the fabric will give the best chance of success. When fabric is not hooped with the stabilizer, there will always room for error, puckering and outlines not being perfectly aligned. Using magnetic hoops and even sticky stabilizer can lead to results that could have been better if the fabric had been hooped with the stabilizer.
*Of course, there are fabric items that can not be hooped like sleeve cuffs, corners of napkins, super thick terry cloth towels, velvet, balsa wood, etc. These fabrics and non-fabric materials will need other hooping techniques and embroidery stabilizers to accommodate these unique items.
4. Fabric Dictates the Type of Embroidery Stabilizers Needed
Stretchy fabrics need cut-away embroidery stabilizers and woven fabrics need tear-away embroidery stabilizers. Follow this basic guidelines when determining which category of stabilizer to work within. Once selected, there are many different weights and styles of cut-way and tear-away stabilizers. Depending on how the item will be used will further narrow down which style will be needed. Local hands-on classes and online embroidery courses are a great way to expand your embroidery stabilizer knowledge base.
5. Don’t Buy OFF Brand Embroidery Stabilizers
If embroidery stabilizer prices seem too good to be true, there might be a reason why. Quality stabilizers do make a difference. I remember buying an off brand embroidery stabilizer all to find out it actually was a little stretchy. How in the world can a stabilizer be stretchy? Stabilizer needs to be stable otherwise, the embroidery stitches will distort and have less than stellar results.
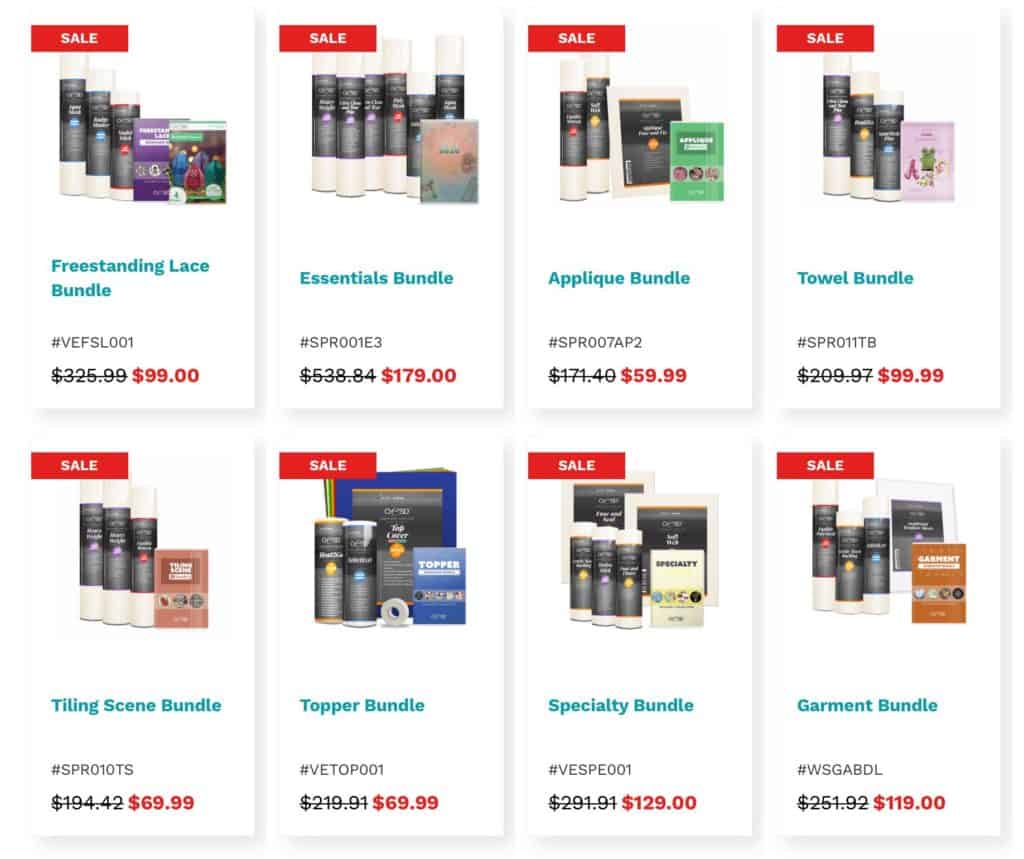
SAVE BIG with OESD’s Embroidery Stabilizer Bundles
Click here to purchase a collection of HIGH QUALITY basic embroidery stabilizers AND receive BONUS embroidery design CD collections with each bundle! (Prices may vary). My favorite bundle is the “OESD Essentials Bundle” which comes with a CD of the top 10 embroidery collections.

Top 3 Embroidery Stabilizers You Can NOT Live Without
- Cut-way Embroidery Stabilizer – use two layers of cut-away stabilizer with all stretchy fabrics.
- Tear-Away Embroidery Stabilizer – use two layers of tear-away stabilizer with all woven fabrics.
- Water Soluble Embroidery Stabilizer – use a layer of water-soluble stabilizer on the top of any fabrics with a nap.
Embroidery Essentials Online Course – A Hands-On Stabilizer Course!
Master both your embroidery machine and embroidery stabilizers with our Embroidery Essentials Online Course! Preview over 20 videos for FREE in the Class Curriculum area. No login needed!

I’ve been enjoying the whole process of blocks in this course, but I think (the) confetti blocks are my favorites so far. So much creative fun! And I’m learning so much about my machine and embroidery in general. Thanks, Sara!
D’Anne Ibarra

