Do you struggle hooping embroidery projects straight? This no-hoop method will eliminate the hassle in 6 Simple Steps.
Whether you are a brand new embroider or have been embroidering for years, these 6 Simple Steps to embroidering a T-Shirt are guaranteed perfection every time.
First, don’t cheap out when purchasing T-shirts. Places like LandsEnd have good-quality blank T-shirts with no pre-stitched logos. Most shirts also come pre-washed and ready to be embroidered. If you are unsure of the quality of your to-be-embroidered T-Shirts, make sure to wash and dry them before embroidering.
A Tip Before Starting
If a template will help you visualize the placement of the design, embroider it out on two layers of Cutaway stabilizer. Trim around the design and lay it into position to confirm size, location, and even thread color selection.
1. How to Mark the Placement for Embroidery
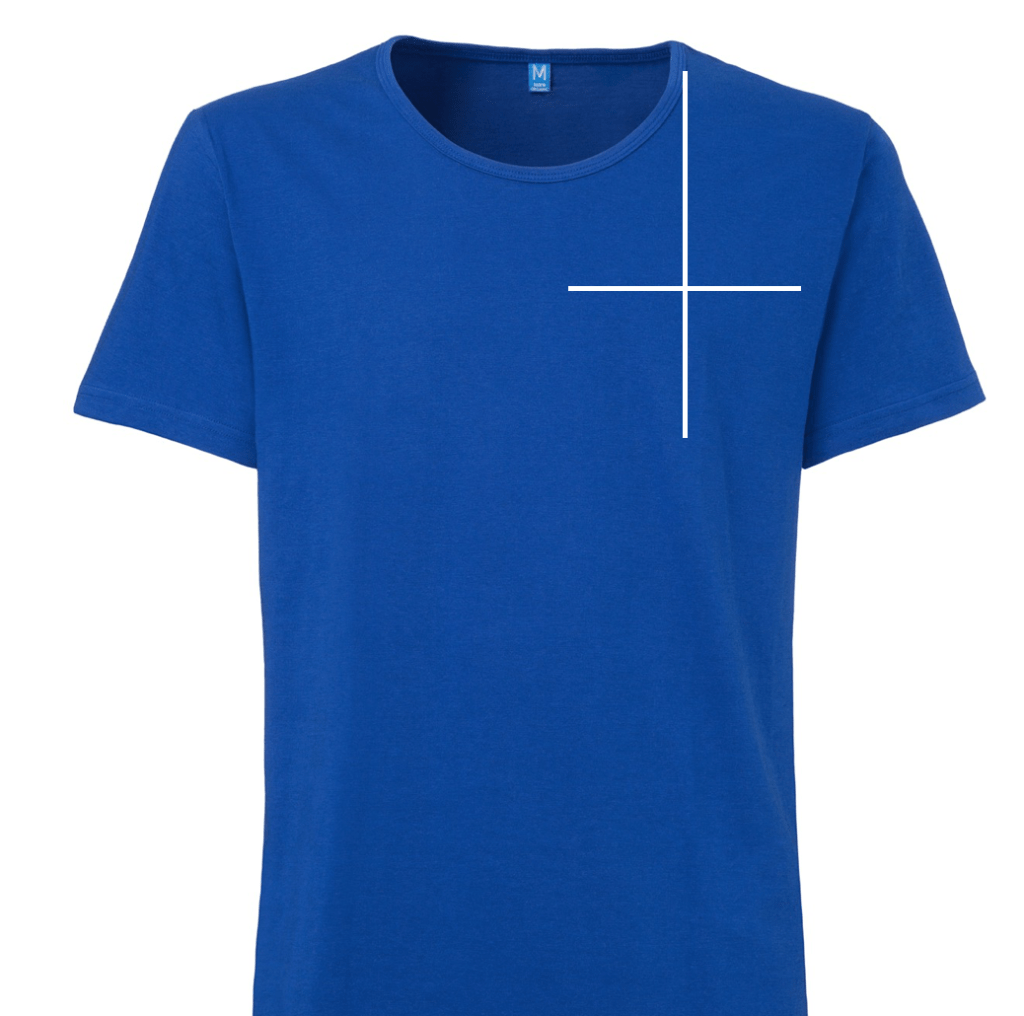
Traditionally, embroidery designs are placed “where you pledge of the allegiance”. Find the center of the sleeve and draw a horizontal line. Then find where the shoulder seam meets the neckline and draw and vertical line. The intercepting point will be the center of the embroidery design.
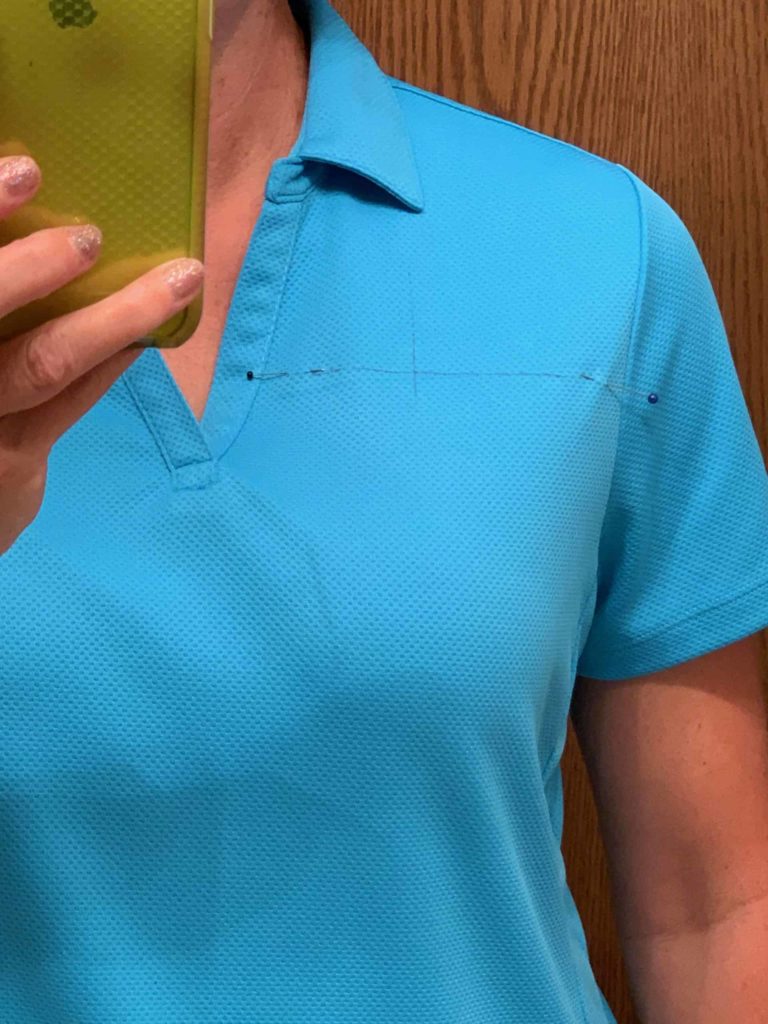
Always test the fabric marker on the shirt before using it. On darker fabrics, select the Clover White Fabric Marker that easily irons out. Straight pins can also be used to mark the horizontal and vertical lines.
If the T-shirt is for you, try it on and double-check in a mirror to confirm the lines are balanced. Adjust as necessary. I sometimes need to adjust my lines thanks in part to my broad shoulders.
This is what happens when you don’t double-check how it looks before embroidering. This particular brand of T-shirt + my broad shoulders made this logo look like it runs uphill! Oops!
2. Selecting the Right Stabilizer for T-Shirts
Cutaway. There are no other options. You must use a cutaway stabilizer behind the knit fabric. It becomes the foundation for the embroidery should the knit get stretched. Without a cutaway stabilizer, the embroidery stitches can break and the embroidery design could get distorted. For sensitive skin, select a no-show mesh cutaway stabilizer.
Lightly spray the stabilizer with 505 temporary spray adhesive to give the T-shirt something to stick to.
Want to Master Your Embroidery Machine?
Check out our Embroidery Essentials Online Course!
3. Ball Point or Stretch Needles
Be sure to switch from embroidery needles to BALLPOINT or STRETCH needles when embroidering on knit fabric. Ballpoint needles are designed not to cut the delicate weave of the fabric but ooze through the weave carefully. If ballpoint needles are not in your current needle collection a Universal needle will work as a good second choice. If working on T-shirts heavily made with Lycra, a stretch needle will be the correct needle type to use.
4. Centering the Design
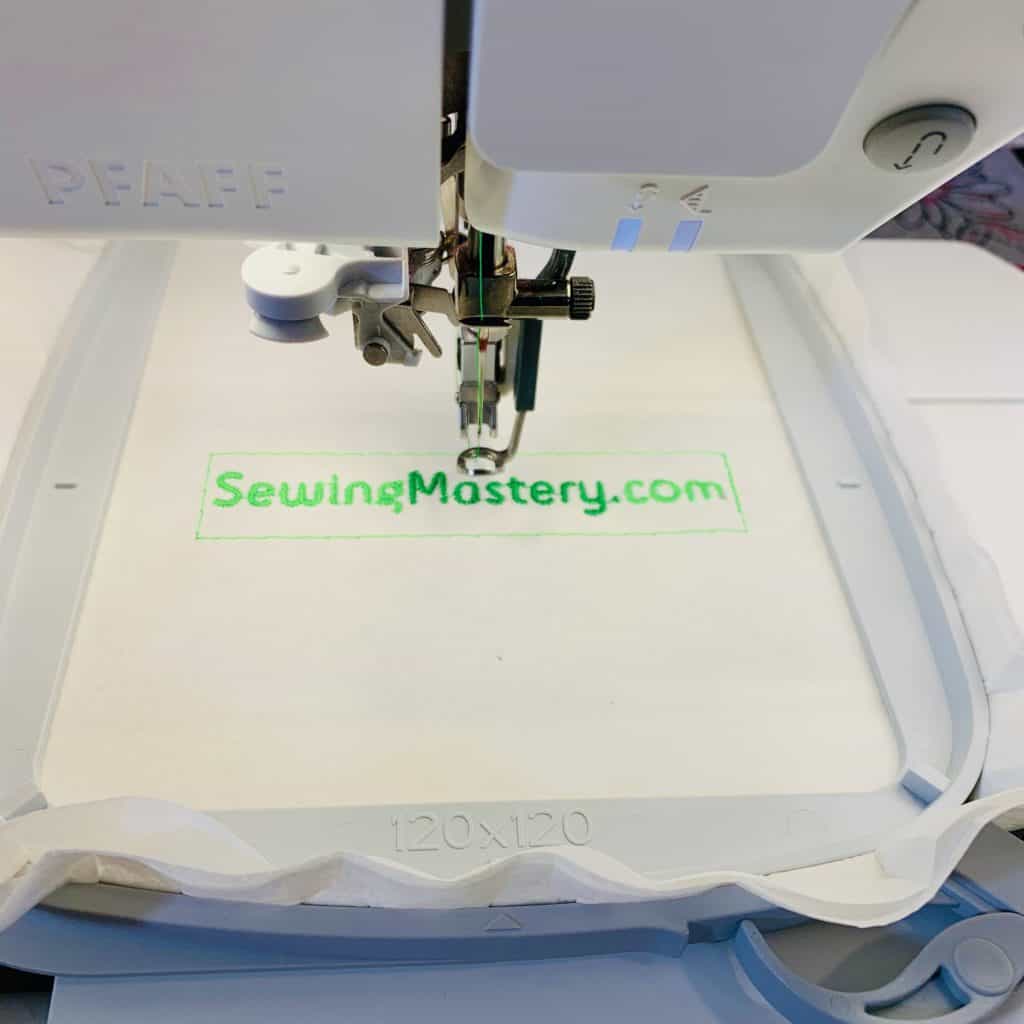
Instead of hooping a T-shirt over and over trying to get it straight, use our “floating” method for instant perfect placement every time. Move the needle to the center of the active embroidery design. Most machines move the needle to where the first stitch starts. This point does me no good. Have the embroidery machine show you the center of the design.
Next, lay the T-shirt over the lightly 505 sprayed hoop aligning the needle to the marked center point on the shirt.
This method has you bring the shirt to the design instead of the design to the shirt. BONUS: If anything goes wrong, you know that the design never moved from the middle of the hoop.
5. Water Soluble Stabilizer
I am a big fan of using one layer of a topping weight water soluble stabilizer over the top of T-shirts. This gives the embroidery design a lift and keeps it from sinking down into the fabric.
6. How to Remove Stabilizer
Keeping the shirt between you and your scissors, trim the cutaway stabilizer to 1/4″ – 1/2″ around the outside edge of the embroidery design. DO NOT CUT BETWEEN ANY SECTIONS/PARTS OF THE EMBROIDERY DESIGNS. Leave it as one large piece behind the shirt.
The water soluble stabilizer on the top is mostly perforated after the embroidery process. Simply pull it away from the embroidery. Use the following tip to get out any remaining small areas of water soluble stabilizer. Otherwise, it is all come out after it is washed.
BONUS Tip – How to Remove the Leftover Water Soluble Stabilizer
Take a wet paper towel and lay it over the embroidery area. Using an iron, touch the iron to the wet paper towel. The heat of the iron will create steam to heat up and lift the leftover water-soluble stabilizer off the top of the fabric. Continue moving the iron around until it all has disappeared. Magic! I love my Panasonic Cordless Iron!
Want to Learn More?
Check out our Embroidery Essentials Online Course!
