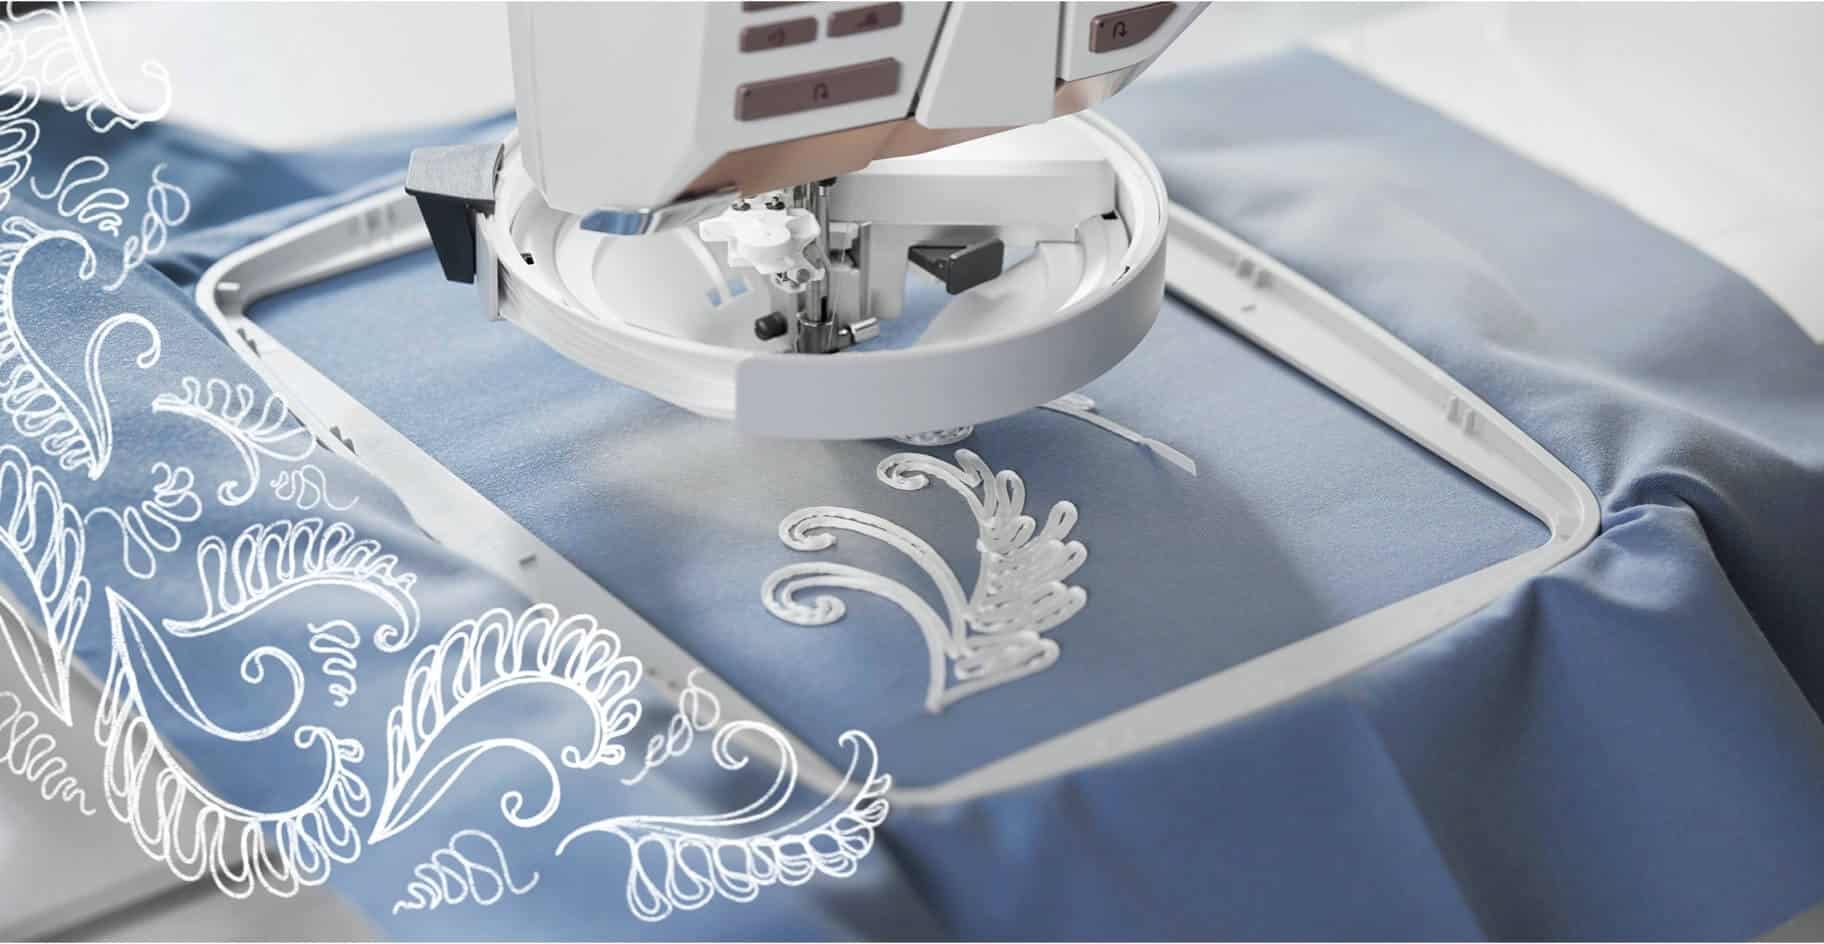
The exclusive Ribbon Embroidery Attachment was designed to stitch the ribbon onto fabric with the use of an embroidery machine. Are you ready to outfit your embroidery machine* with the latest in embroidery advancement? Check out what the Ribbon Embroidery Attachment can do! We have listed 10 reasons why owning a Ribbon Embroidery Attachment will totally up your embroidery game.
UPDATE…there is now an online course to master both the Ribbon Embroidery Attachment and the Yarn Embroidery Attachment. Click here to learn more.
Create 3D Embroidery Designs
If you are getting tired of traditional embroidery designs and you have stitched as many in-the-hoop zippered bags as you can handle, the Ribbon Embroidery Attachment will add the missing spark back into your embroidery world! These three-dimensional designs have endless possibilities plus your friends will be a bit jealous.
Ribbons, Fibers & Yarns…Oh My!
The Ribbon Embroidery Attachment can use ribbons sized 1/8″ to 5/8″, but WAIT! There is more! Experiment with yarns, T-shirt yarns, and fibers to transform ribbon designs into totally different looks.
Ease of Use
This was one of the easiest accessories I have ever played with. I do remember feeling a bit apprehensive when I first opened the box, but it is a lot less complicated than it looks. Follow the simple step-by-step instructions on the machine’s screen or the printed directions in the box. Everyone who has bought one has told me they were successful the FIRST time they tried it. And the more they used it, the easier it became to switch between designs and ribbons.
How Much Ribbon Will I Need?
Each Ribbon Embroidery Attachment design includes the minimum yardage needed for the design. Even if you happen to run out of ribbon in the middle of an embroidery design, there are simple steps to reload the ribbon and restart the design.
Create Store Bought Looks
I have often walked through department stores and furniture stores eyeing the beautiful throw pillows with ribbon embellishments. Now I can be inspired by these creations and go right home and duplicate them!
Make Your Own Fabric with Ribbon
I so want to do this! Start by selecting a ribbon embroidery design and plan to repeat it multiple times over a piece of fabric. After adding the beautiful ribbon texture, lay a pattern piece over the fabric and cut out a bag, pillow, or a set of jacket sleeves! Talk about having a one-of-a-kind item.
Combine Embroidery Designs with Ribbon Designs
Many of the designs created to be used with the Ribbon Embroidery Attachment start first with traditional filled-in embroidery as a base such as the lion’s face in the video. The ribbon is then added at the end as the final embellishment.
Some Machines Already Have Ribbon Embroidery Designs Loaded!
Some of you have even noticed you already have ribbon embroidery designs loaded in your current embroidery machine. All you need to stitch these designs is the attachment itself. Head out to your local Pfaff or Husqvarna Viking retailer today to purchase your new accessory. Or maybe add it to your Christmas list for Santa.
Find over 250 Ribbon Embroidery Designs in the mySewnet Library
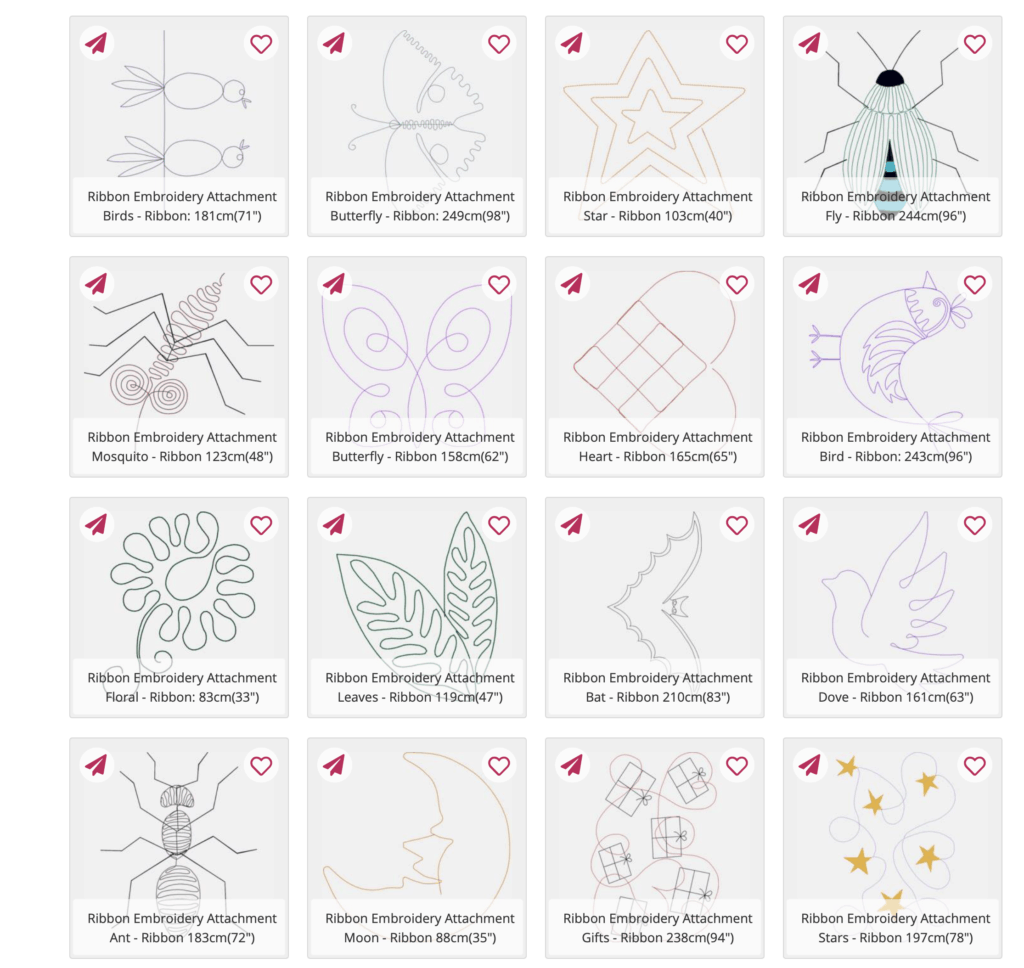
Pfaff and Husqvarna Viking have created a subscription-based embroidery library that currently contains over 250 Ribbon Embroidery Attachment designs. Here is a sample of just a few of the possibilities. Click here to view all the Ribbon Embroidery Attachment designs in the mySewnet Library.

Create Your Own Ribbon Embroidery Designs
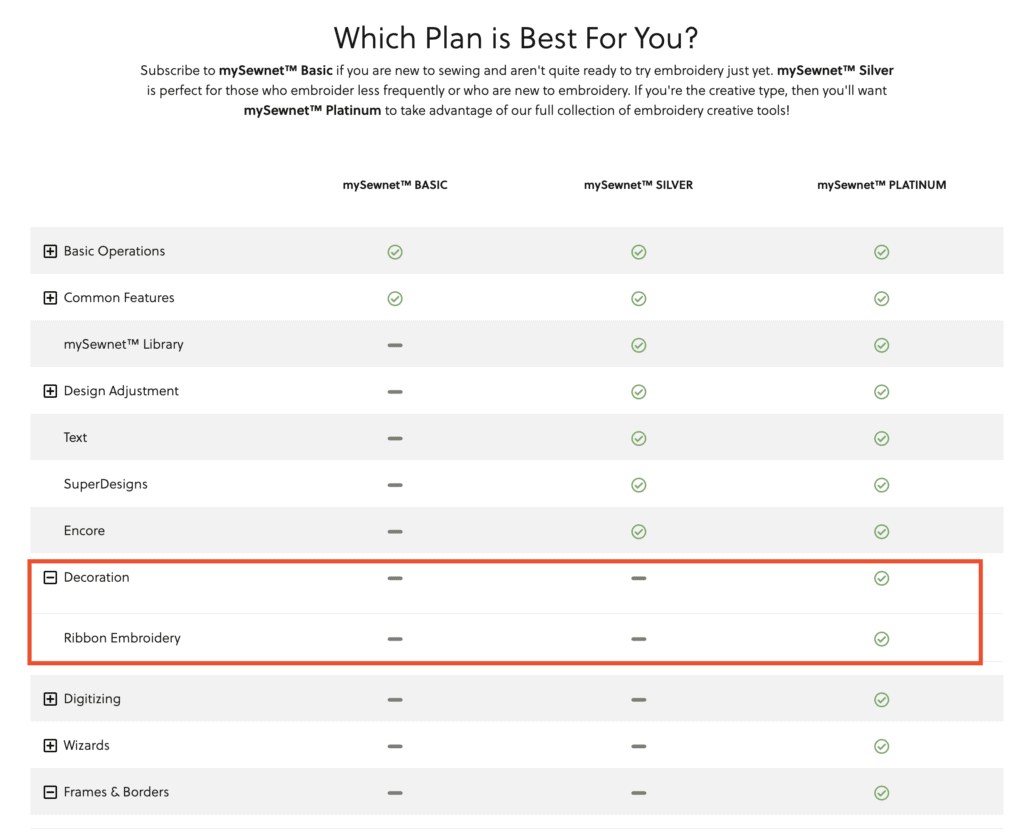
By using the newest version of the mySewnet embroidery software, the mySewnet PLATINUM level can create your own customer Ribbon Embroidery Attachment designs. The sky is now the limit to what you will be able to create!

Which embroidery machines will the Ribbon Embroidery Attachment work with?
The Ribbon Embroidery Attachment currently works with the following Pfaff and Husqvarna Viking embroidery machines. Please note, that the most current update will need to be installed for this accessory to work on some models.
- Husqvarna Viking Designer EPIC 1*
- Husqvarna Viking Designer EPIC 2
- Husqvarna Viking Designer EPIC 3
- Husqvarna Viking Designer RUBY 90
- Pfaff creative ICON*
- Pfaff creative ICON 2
* The most current update is needed to be compatible with the Ribbon Embroidery Attachment
Tips for Using the Embroidery Ribbon Attachment
Here is a list from Husqvarna Viking/Pfaff for perfecting the use of this accessory with a variety of thicknesses of ribbons and yarns. Click here to learn more.
- Only use embroideries specially designed for ribbon embroidery attachment. They are digitized specially and tested to work well.
- It is not possible to use the Ribbon Embroideries in Premier +™ 2 because the special format of the Ribbon Embroidery is lost
- You can use any width of ribbon but certain embroideries work better with a narrow or wide ribbon. There are recommendations listed with each embroidery, both width and length.
- If your ribbon is wrinkled due to how it was stored, ironing it before winding it up on the ribbon wheel is good.
- If you want to layer 2 ribbons in different colors, start to wind the ribbon you want on top facing out.
- The result can look very different depending on the width of the ribbon. We recommend testing if you are using other widths than recommended.
Pivot Height Setting
- It is important to think about the Pivot height setting. If you are sewing a design with many curves and a wider ribbon it is expected that the ribbon raises in the curves, and adjust the pivot height to be higher.
Narrow ribbon >> low pivot
Wide ribbon >> high pivot.
- If the pivot is too low when sewing a design with lots of curves and wide ribbon, can affect the result negatively. You can change the pivot height in the settings.
- Read more about the Ribbon Embroidery Attachment in the instructions included in the box.
- Tip: You can find step-by-step instructions on all different embroidery techniques in the JoyOS Advisor™ on your machine. They are divided into different categories and subcategories. From Basic embroidery to cutwork, felting, and other specialty techniques.
Feeling a Bit Overwhelmed?
If you are a new embroidery machine owner and this looks way too complicated, join us for the BEST way to master your brand new embroidery machine with our Embroidery Essentials online course. Click here to learn more about how to use your embroidery machine from the beginning.


