A sewing machine needle can break for a variety of reasons. Sometimes it is operator error and sometimes it can be the wrong needle for the fabric. If you have experienced a rash of broken needles within a short amount of time, see if one of the following situations relates to you and learn how to overcome the problem.
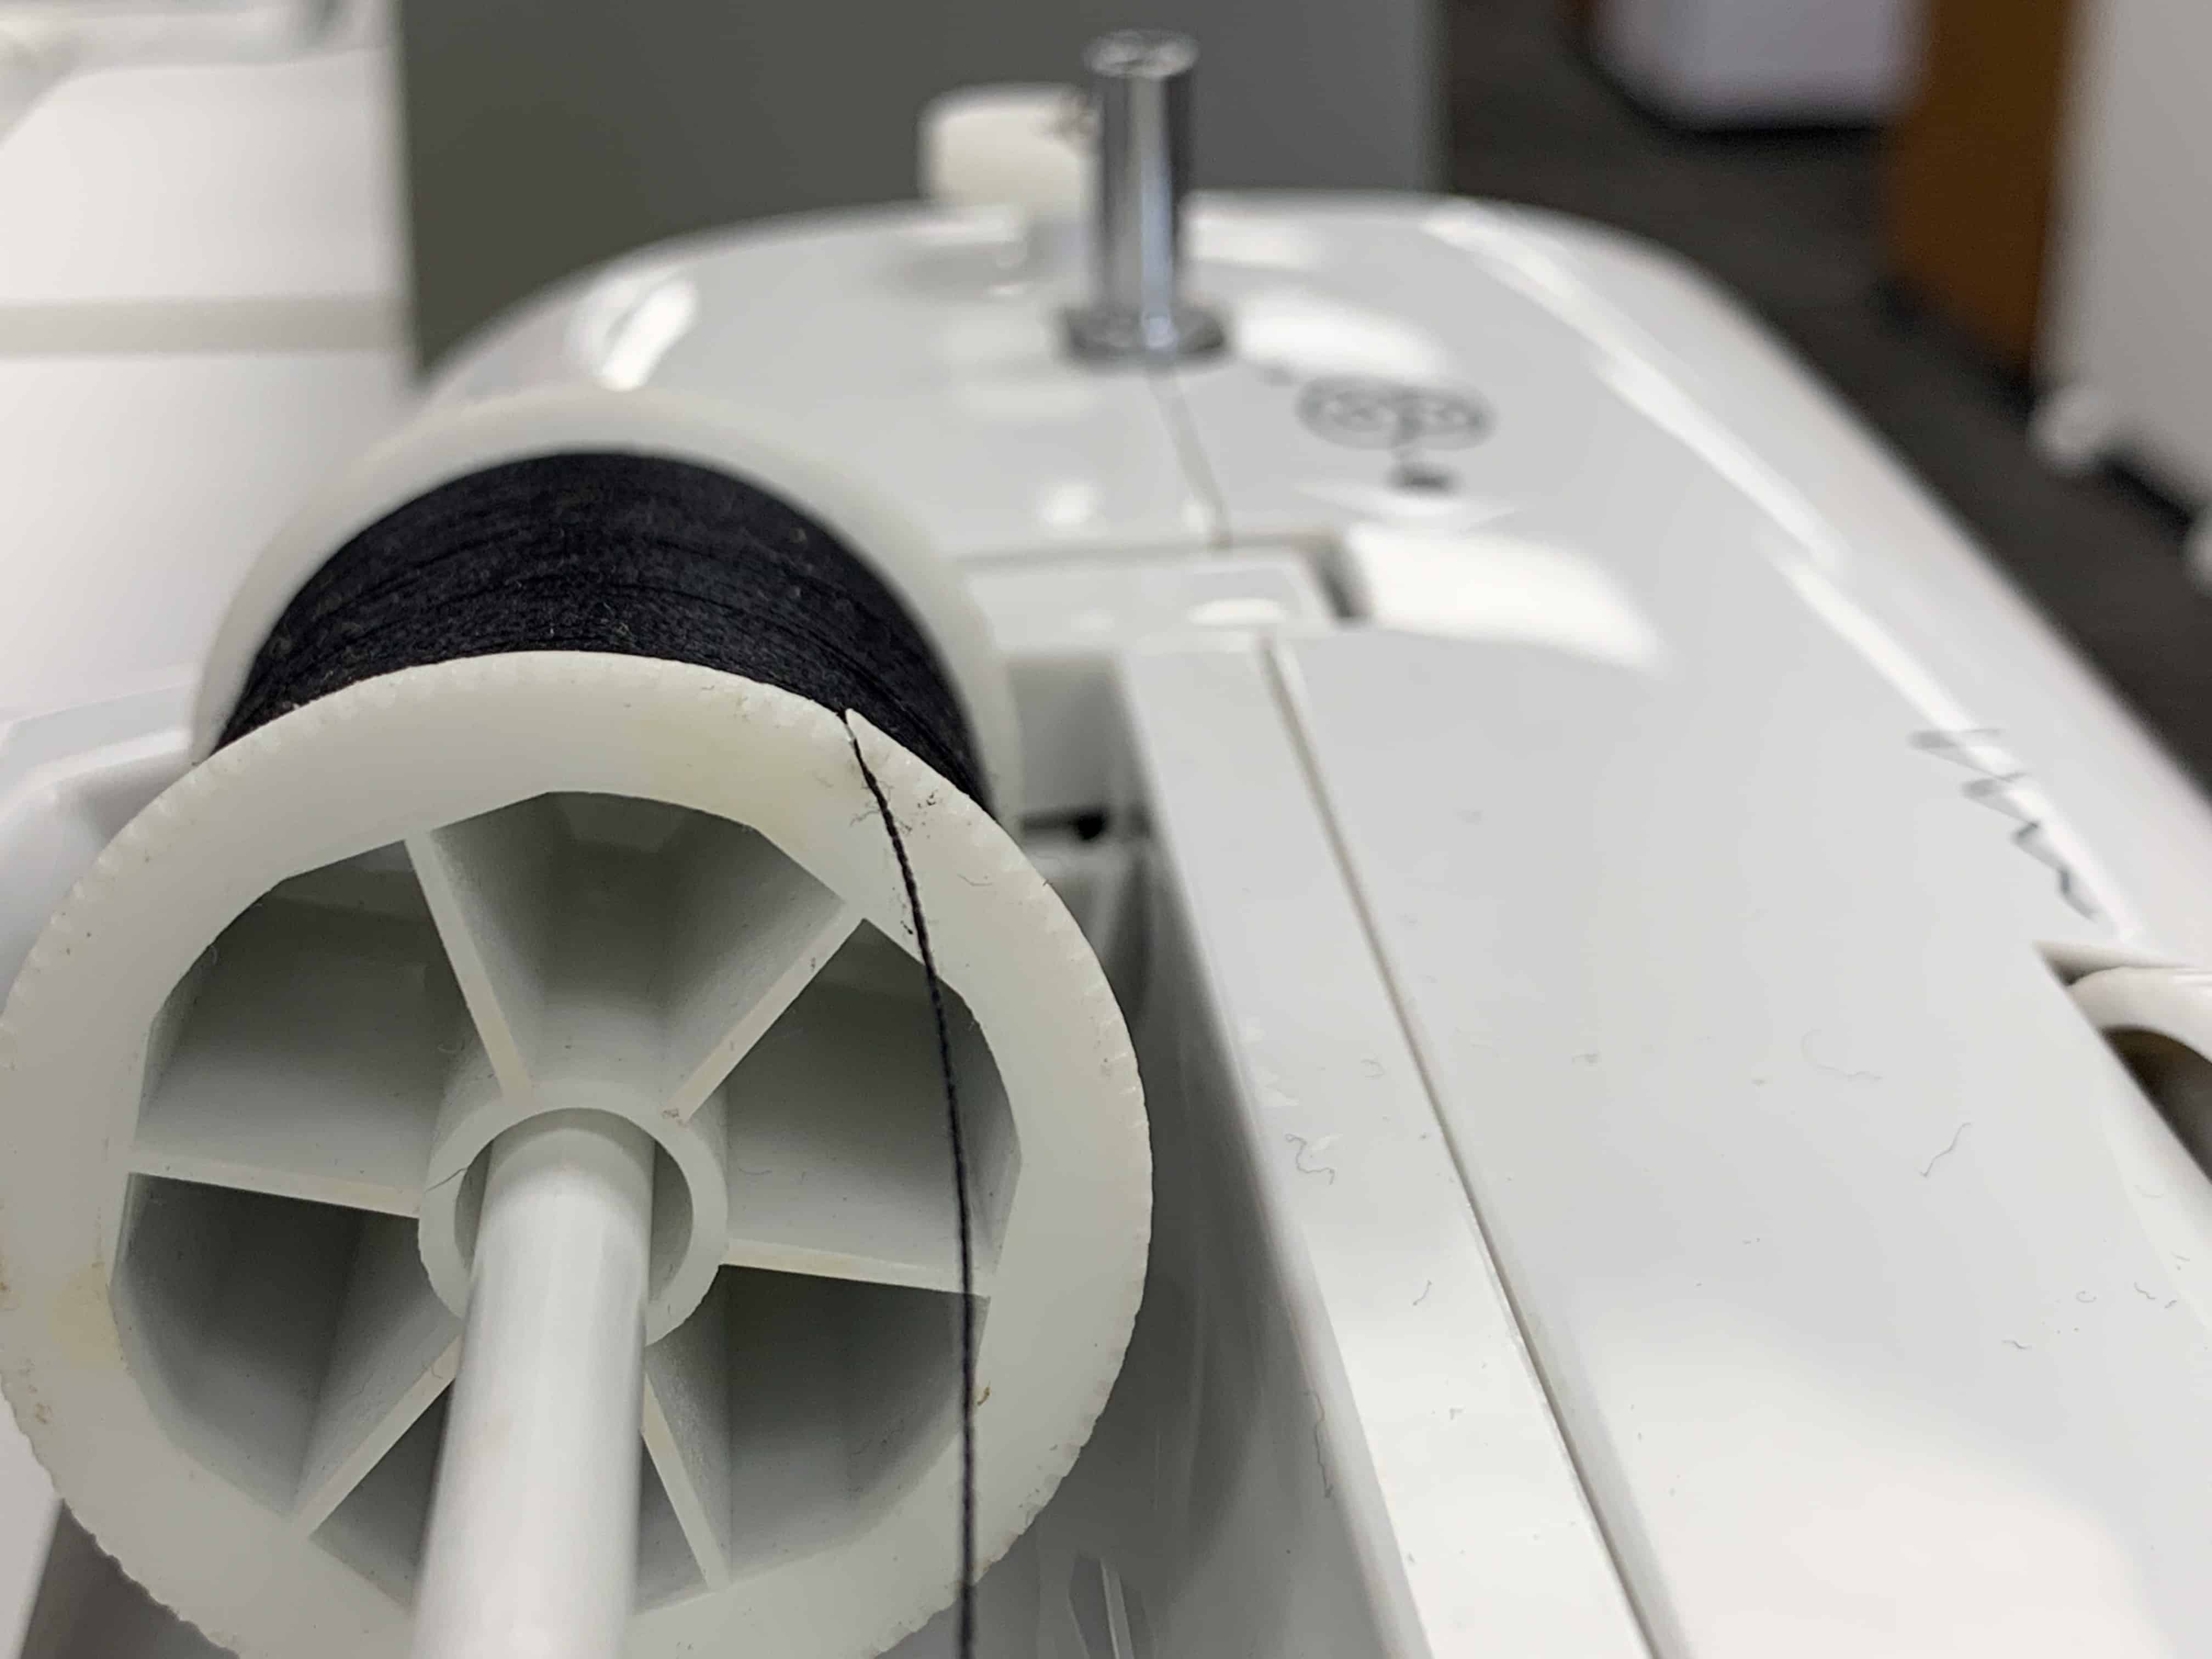
Thread Catches on the Spool
Some thread brands have these lovely thread holders notched in the edge of the spool. Handy, yes, but if the thread spool is laying on its side it can catch in the groove, pull the thread tight and SNAP the sewing machine needle. To avoid this, be sure to stand this type of thread up using a vertical thread pin.
Thread Wraps Around the Spool Cap
For threads that need a horizontal spool pin and a spool cap to hold them in place, the thread can get caught between the thread spool and the cap. Though a spool cap is necessary to keep the thread in place, it must be pushed into place so there is no gap for the thread to catch between the two. This is one of the reasons I prefer using a thread stand.
Thread Wraps Itself Around a Thread Guide More Than Once
This is one of the most common problems. When a threading error has occurred it can easily lead to a sewing machine needle breaking. The extra resistance can pull the needle out of position which usually leads to the needle hitting the throat plate, hook, or bobbin case.
Fabric is “Helped” Through the Machine
If you need to help pull the fabric through the machine, the needle can misalign and hit the throat plate. Over time multiple needle strikes to the throat plate will look like this:
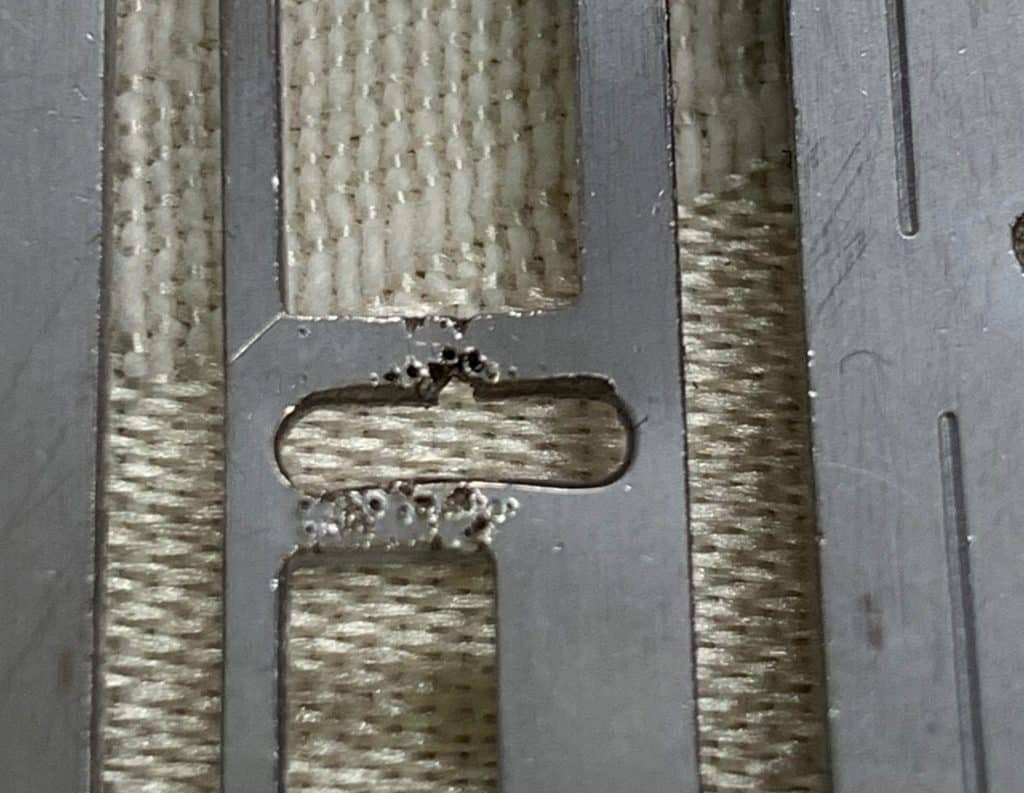
To avoid this situation, lengthen the stitch length to let the machine move the fabric through the machine with less damage to the needle.
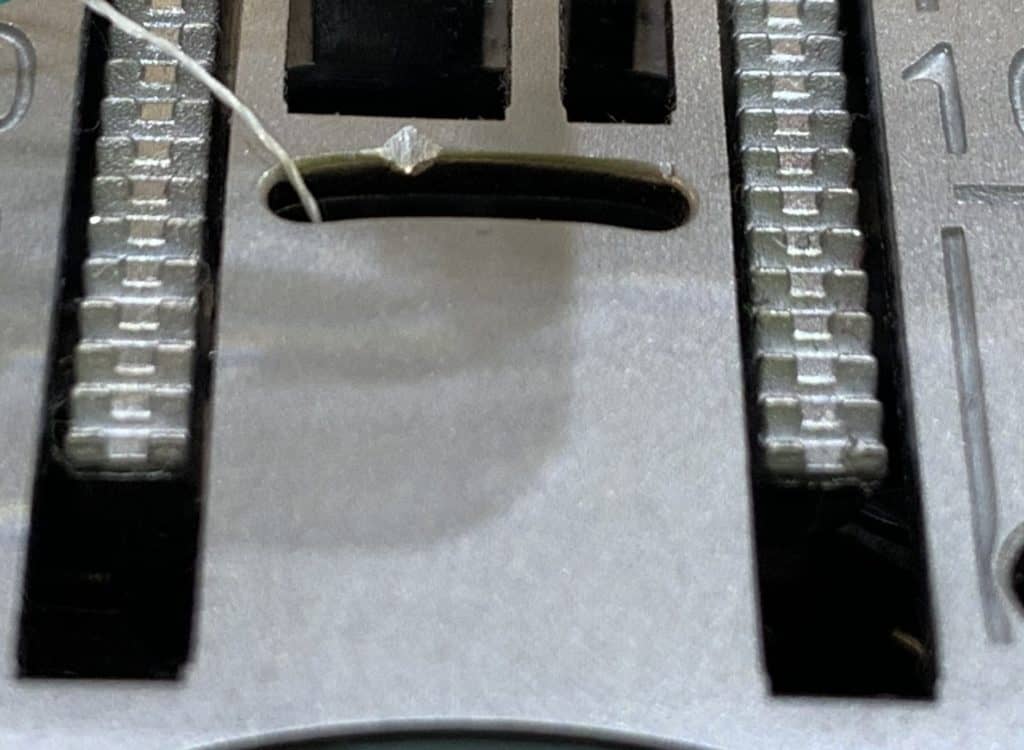
Note: If you own a Pfaff or a Husqvarna Viking machine you will notice a NOTCH in the throat plate. This is supposed to be there.
Sewing Machine Needle Too Small
A perfect example of this is when sewing together a tote bag. In the beginning, sewing basic pieces together are usually not more than two layers at a time. But as you approach the end of the project, there are multiple layers upon layers you are asking the needle to go through. You might have only needed a size 80/12 needle at the beginning, but needed a Topstitch 100/16 needle at the end.
Needle Not All the Way Inserted
When a sewing machine needle is not all the way up into the proper location it is not aligned with all the moving parts. Using the built-in needle threader is an easy way to confirm the needle is in its highest position. If the needle threader head does not align with the needle hole, the needle has not been inserted all the way to the top.
TIP – Use a needle inserting tool to help hold and lift the needle all the way up into the needle shaft. This multi-purpose tool is available from Pfaff and Viking retailers. We like this tool because it not only has a hole for the needle to be held in but it is shaped to help keep the flat side of the needle toward the back for correct positioning.
The Needle Screw is Not Tight Enough
If the needle screw is not tightened enough, the needle can wiggle loose and hit something it should not. If the needle screw is supposed to be tightened with your fingers, be sure to give it just a little extra turn to keep it securely in place. If the needle screw has a slot for a screwdriver, you MUST use a screwdriver to correctly tighten it. If you only tighten one of these screws with your fingers, it can wiggle loose in time.
Needle Strikes on the Hook
If you have ever hit a thick area of a project or have a thread jamming issue, the sewing machine’s hook can move out of position and come in contact with the needle. We often find rough spots on the hook and bobbin race area where needles have hit this part of the machine. It is a sure thing that the needle probably broke when it came smashing down.
Needle Hits the Bobbin Case
When cleaning a sewing machine bobbin area, if the bobbin case is not replaced in the correct location, the needle can hit the bobbin case and break. If this happens, take everything back out of the bobbin area, inspect the bobbin case of nicks, and insert a new needle.
The Needle is Bent
Sometimes a needle can bend but does not break. If using a slightly bent needle, whether you know you are or not, it can now harm the sewing machine by coming down through the bobbin area in an incorrect location.
The Needle is Bad to Start With
Not every sewing machine needle that is made is perfect. Some needles just come out of the package bad. Whether there was an incorrectly manufactured needle or a weak spot, even brand new needles can break. Don’t think twice, just try again with another new needle.
Sewing Over Pins
Sewing over pins is a guaranteed way to break a needle. Yes, sometimes the needle will go right over the pin, but there are times it hits the pin squarely and the pin and needle wreak havoc on a sewing machine – even throwing it out of time! Always remove pins before sewing over them.
Sewing Over a Zipper
Whether a zipper has metal teeth or plastic teeth, this is also a sure way to damage or break a needle. If you can, hand turn the sewing machine stitch by stitch until the stitches and needle have safely reached the other side. For embroiderers embroidering an in-the-hoop project that includes a zipper, you can stop the embroidery machine right before it crosses the zipper teeth and also hand-walk those handful of stitches carefully over the zipper to be sure the needle does not break.
Sewing a Zig-Zag with a Straight Stitch Throat Plate On
We have all done it – accidentally left a straight stitch throat on and selected a zig-zag or a decorative stitch without thinking. These days newer sewing machines have censored throat plates (Husqvarna Viking and Pfaff) that alert the user when the straight stitch plate is on and will not let them select a left to right swinging stitch.
Sewing with a 1/4” Foot On
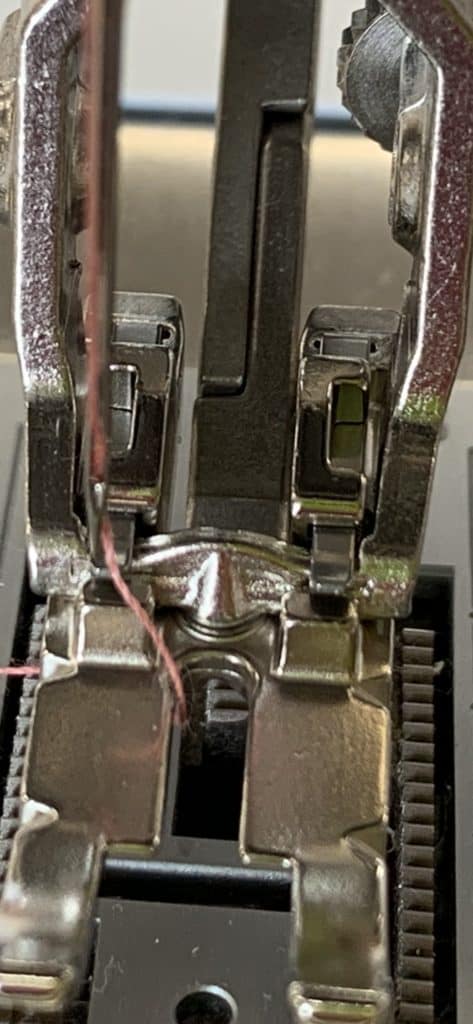
We have all done this too! A 1/4” foot only allows straight stitching with a center (or near center) needle position. One way to save your needle in this situation is to activate the “Stitch Width Safety” option in the machine’s settings.
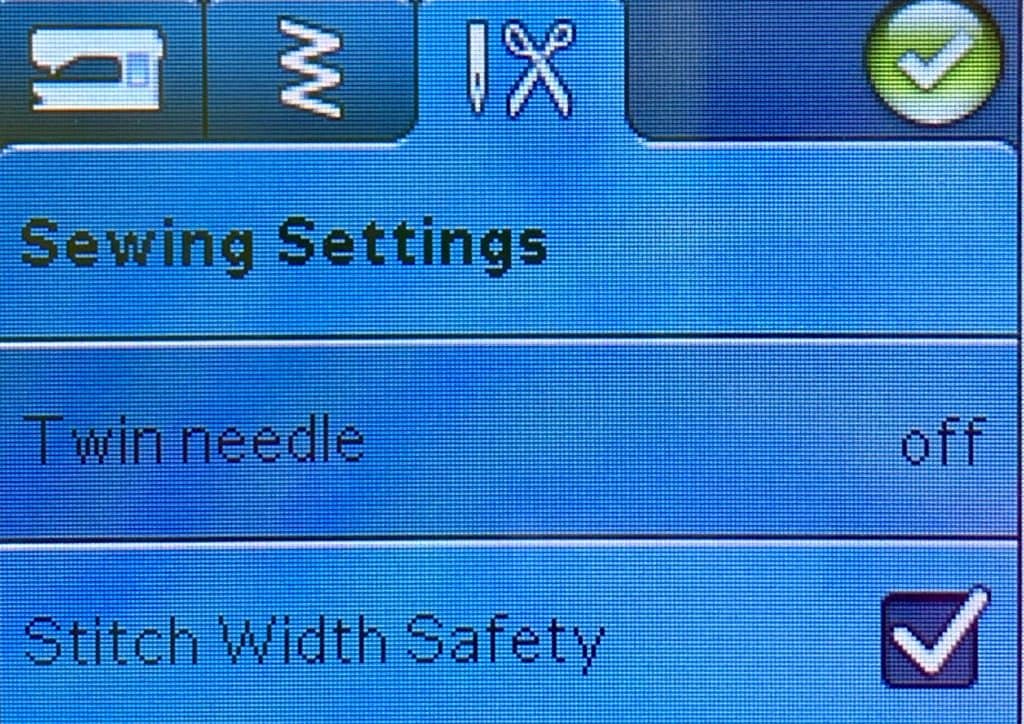
This will keep the needle from moving from the center position or accidentally selecting an unwanted stitch. NOTE: This feature can be activated even without putting the straight stitch throat plate on the machine.
The Needle Has Been Overused and Becomes Weak
Like anything we use in this world, if it is used a lot, it can become worn out or weakened in a certain area. Take the sign of a needle breaking as it was probably time for a new needle anyway.
Can Your Sewing Machine Needle Do This?
With the right sewing machine and the right sewing machine needle, sewing through extremely thick laters is possible. Check out how we sewed through 40 layers of quality quilters cotton fabric here:
Want to Learn More About Sewing Machine Needles?
Check out our collection of super-short sewing machine needle videos to learn what different types of needles do and why.

